
The RH shot up to 80%+
This made it very unsuitable for closing.
So what I did was to start on the fingerboard.
I just scrape the surface smooth; the fingerboard that comes from LMI was pretty well surfaced.
I just need to shoot to square the reference side.
I had some someother ebony that definitely need more work to get it smooth.
Anyway the maximum thickness of the fingerboards are about 8mm only
I remembered wrongly and thought they were at least 10 mm thick.
This threw my calculation off for the neck geometry
I had to rework the geometry readings to get the correct action at 12th fret

The slots will be saw square to this edge.
I made a mistake during the sawing of the fret slots.
I used the LMI 650mm scale length template and saw using the LMI jig.
By right it's dummy proof but well I managed to goof it up...
I saw according to instructions:
Using the 650mm side of the template slots, I double tape the fret board to the template.
Then I adjust the depth of the cut using the nut slot as a reference check.
After making sure everything is OK I started sawing.
For the 1st 2 slots I can see the slot marking on the template, but after that it's all covered by the fingerboard.
I had to slide the template and feel the pin slide into the slot.
That's why I made the goof up.
During the 11th fret slot sawing, I mistakely thought the pin was inserted into the slot.
(How could I have missed that!!!)
And what's worse I made the mistake twice.
As a result I cut 2 fret slot one before one after 11th fret.
And I didn't saw the 11th fret..
I didn't realise that initially.
When I took out to check how many slot I have done, I thought the slots looked very funny.
After inserting back into the jig then I realised I missed the 11th slot and cut one before and one after...
Anyway I continue the rest of the sawing and use PVA mixed with ebony dust to fill the slot.
But I think it will still be very visible.
I have to wait till it dries and sand it smooth to find out.


So far so good.
Then I turn over and plane the back of the fingerboard.
The bass side should be about 1mm lower than the treble side.
This is because bass string tend to vibrate more than the treble string.
Alternative I can plane the top of the fingerboard but as Ebony is prone to tear-out, there might be blemishes...
So it's better to plane the under side so that even with some blemishes it's not visible.
I smoothen it with scraper and scraper works really well with ebony but the heat build up on the scraper is really hot to the touch almost like frying pan.
Think it might be good to make a scraper holder like the LV version.

Before I close the box, I need to cut the fingerboard and the elevated part of the neck to shape.
As the sides are attached, there is no way a coping saw can be inserted.
So I just use a junior hacksaw to saw straight lines and chisel away the excess.
I had a small chip on the front face of the neck but luckily not too deep.
After that I use my chisel and file to shape.


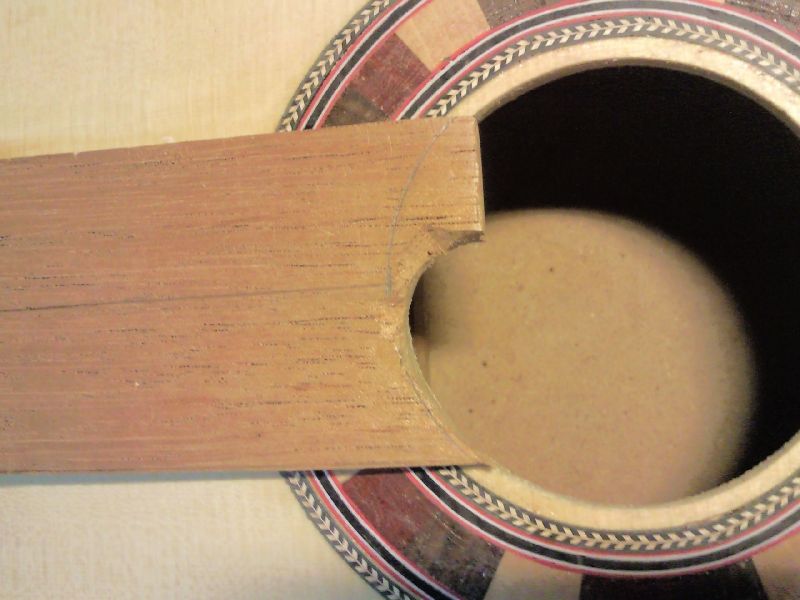

After shaping the fingerboard, I realise the neck part underneath the finger is not long enough to cover the 20th fret...
So I just saw away the neck below the 20th fret to match the sound hole.


No comments:
Post a Comment