20160305
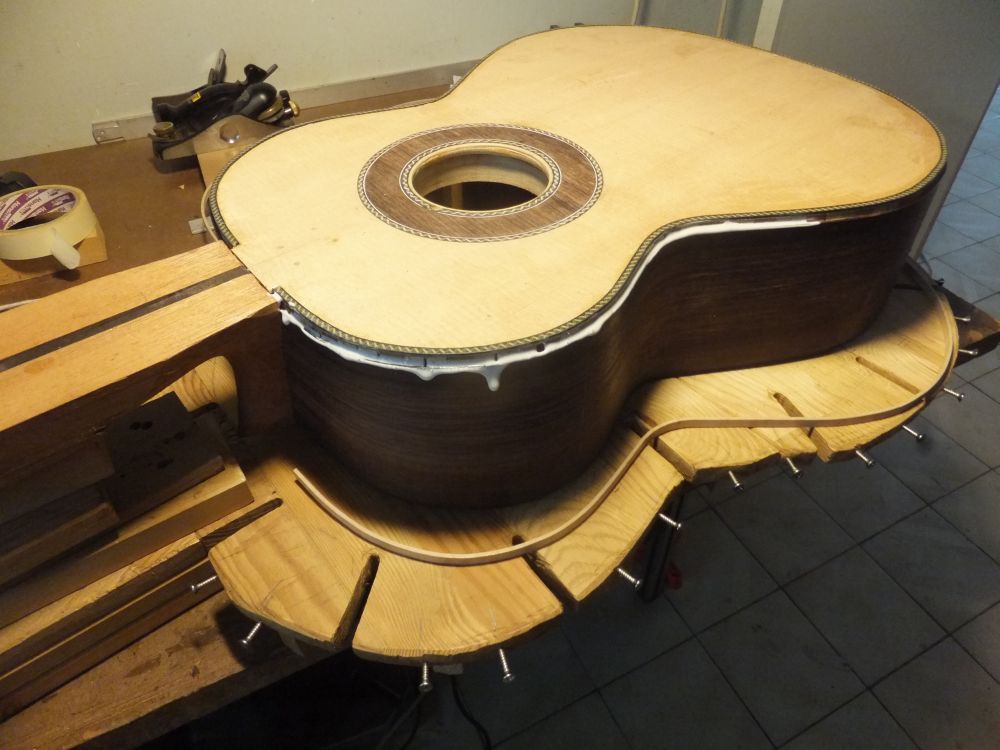
The next step is to install the binding and purfling.
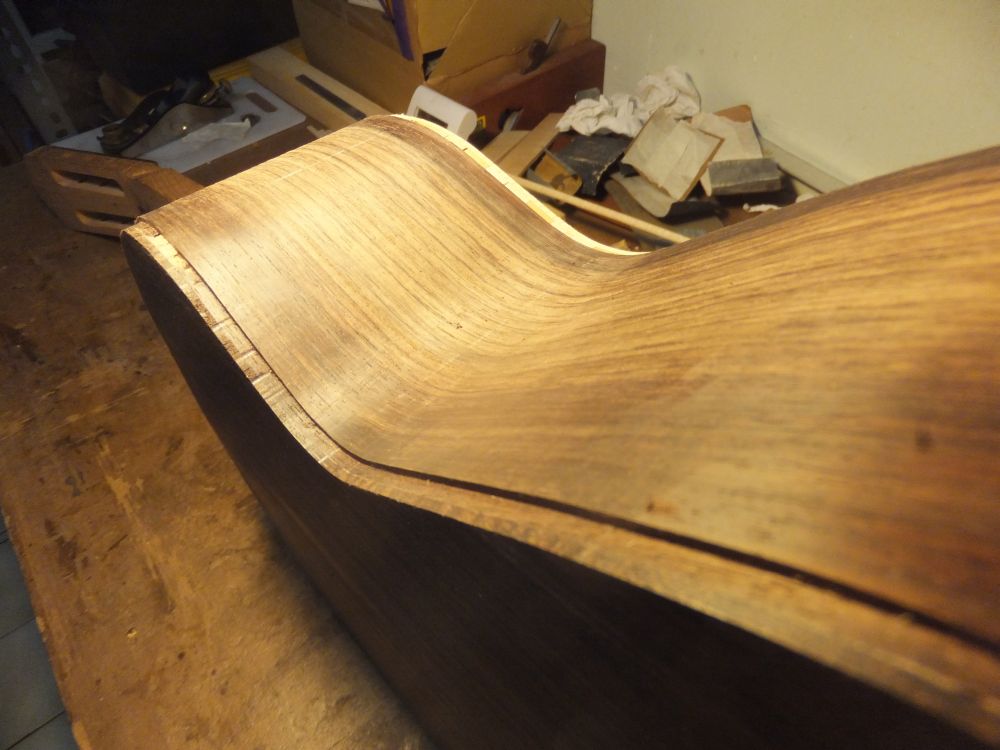
So I have to cut the channel first.
For this guitar the ornament is minimal, i.e. there are no side purfling or back purfling.
So I have a quite a bit of work there.
The only place that have purfling is at the front's perimeter.
The front purfling will serve to outline the guitar's shape which I think is very important.
This is especially so since the binding used is maple which is white and not very very good at outlining a shape.
The dark purfling line will enhance the contrast.
So I began to cut the channel.
I use the laminate trimmer this time round instead of the hand cutting the channels.
Well there are some areas which I will still need to cut by hand though.
Those areas near the heel which the router doesn't reach, I will have to cut by hand.
One of the main problem of using the standard router jig that comes with the trimmer is that reference used is based on the top instead of the sides.
I measure the top and back and they are offset from 90 degrees with the side by 2 degrees actually.
So I reference using the top or back I will be off by 2 degrees.
It's not really a big deal so in the end I didn't make the jig for routing this time round.
I test cut a channel to confirm the width and height.
After set-up I double check and began to route the channel.
It all went pretty well.
The channels are well cut and no accident :)

Test cut to check the binding fit.

Set up for the cutting of the binding rebate

Cutting the rebate.
The paper behind is to make the debris go down instead of flying all around.

Binding rebate nicely done.

Back set-up

Cleaning up the debris.

Checking the channel (back)

Checking the channel (front)
20160318
Next I cut the purfling channel.
The only difference I cut it by hand.
Using router will be too dangerous.
I use the gramil since my purfling cutter wasn't ready.
I change the blade but haven't go around to set it up properly
The gramil works fine for spruce top since you don't really need a lot of strength to cut the wood.
If for the back you will need the extra grip to pull or push the cutter.
That's where my self made cutter will excel as it has lots of area for gripping.
Anyway the channel was cut and level using both chisel and router plane.
The part where is unreacheable by the gramil, I have to score the cutting line by hand.
I did it using a French Curve and marking knife.
One part underneath the sound board wasn't supported well enough and so I glue in extra pieces to give it a solid support.
Similarly I cut the part on the back's heel region.
I test fit the purfling and the fit was good.
Next I began to glue in the purfling.
The purfling was held with tape only.
Next I began to bend the bindings.
All went well with no breakages.
I test fitted the bindings and so far so good.
However, I can't really think of good way of installing the binding.
My previous ways of installation was OK as I can't really see the gaps until the last part.
So I am thinking of a better process.
I saw an idea from Delcamp using an external support push the binding against the channel from outside.
It's really a neat idea but the only issue is I have to make them and materials might a be problem.
So now back to the pondering mode...
I also cut the end graft channel by hand.
First I score the line using marking knife and a square.
After that I saw the scored line using douzuki saw and chisel away the channel waste.
I have a piece of maple from a side cut off just nice for the channel.
After that I test fit and glue in the end graft.
I will need to plane it down though.

Checking the width of the purfling

Chisel the channel

Clean up with a router plane

Scoring the purfling channel using a gramil.

Scoring the neck region manually by using the French Curve rule as a guide and marking knife.

Chiselled away the waste. There is one hole underneath the top which needs to be patched.

Checking the binding fit

Glued in the patch.

Test fit the purfling

Applying glue to the channel

Installing the purfling. They are held by tape

Purfling done.

Marking the position reference for the binding

Bending the binding. (with 2 hands not 1 as shown)

All bent.

Purfling all nicely done.

Purfling at waist

Checking the binding fit and cutting the binding to size.

Marking the heel side.

Chiselled the channels.

Made a waist clamp for the bindings

Sawing the end graft

Chisel the end graft channel

End graft channel chiselled.

Test fit the end graft. A small section of binding is used to act as a stop block for the end graft.

End graft glued and taped down.
20160401
After the end graft was installed I have to plane and scrape it level.
I also use the file with safe edge to level the ends in line with the binding channel.
Now the binding channel is ready to take the binding but first the binding jig...

Plane the end graft level with the sides.

Scrape it level.

Using file (with safe edge) to file the end graft level with the binding channel.
20160412
Finally I installed the bindings.
I was experimenting with different ways of installing the binding.
Basically what I didn't like about the current way is that I can't really see the binding when I am installing it.
So if there are any gaps I won't be able to do anything about it.
So actually I modify one of my old solera to make into a binding jig of some sorts.
The idea is pretty similar to the various binding jig out there with pins at the side of the solera for ropes to tie the bindings in place.
I wanted to add a centre section so that I can do one side at a time.
However as I try out I discover the tension will come loose when the centre section shifted so I gave up the idea.
In the I revert to my original way of installing binding: tape first then rope.
The tape is able to hold it in place until I tie the entire 2 sides binding in place.
After I did the top binding, I leave it for the glue to dry while I worked on the fingerboard.
When the glue is more or less dried, I removed the rope and check.
So far so good - no gaps.
Then I came to work on the back section.
This time round I use duct tape which is stronger and is able to hold the binding in place better until I bring in the rope.
The spring back on the binding for the back is more.
For the back and side woods is more resistant to the strong tape so I have less worry when peeling off the tape.
Before I glue in the binding I spend some time cutting and trimming the bindings to length.
The ends are marked then sawn.
The fine trimming is done with a chisel.

Trimming the bindings to length

Applying glue onto the binding channel

Glue one side of binding using tape first.

Both side glued and taped
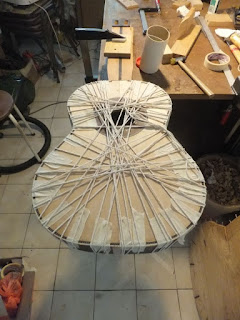
Finally tightening the binding with rope.

Front binding done. Looks good with no gaps.

Trimming the binding length.

Glue one side.

Both side done.

Tighten with rope.
20160417
After the ropes and tapes are remove I check the binding.
So far so good, no gaps seen.
Think taking the time to trim the length and glue the binding helps a lot.
After that I began to scrape the binding / purfling to fit the sides / tops

Scraping the bindings to fit the sides

Back view

Front view