20200219 - 26
One of the most exciting stage is the assembly of the guitar.
This is because you get to see the guitar taking shape
But before the assembly process starts, quite a fair bit of things need to be prepared.
First I need to fit the sides to the top shape.
This is because of the elevated fingerboard design.
The upper bout actually dips down and the sides need to conform to the shape.
Once the sides is fitted properly, I also check for squareness of the sides to the top.

Cutting the sides to length

Fitting the sides to the mould and the top.

Checking the fit
20200306
Once the sides is fitted nicely, I began to work on the neck heel block too.
I needed to cut the side slots and fit the wedges accordingly.
Once fitted nicely I also drilled alignment hole for the top and neck and the heel block.
This will ensure the neck is centred properly with the guitar body.

Cutting the sides slot

Chisel the waste away

Saw away the heel waste part.
20200318
Also I cut the peones block enough for filling the rim of the guitar.

Cutting the peones block

Peones block prepared
20200313
All is set for the assembly and I began the process.
First I glue the heel block onto the top.
This part is crucial in making sure the alignment of the centre line is done properly.
Otherwise the neck will appear crooked to the guitar body.
However this for this elevated neck build, only the heel block is glued rather than the whole neck.

Checking the alignment

Glue the neck block to the top

Checking the whole neck alignment
20200320
Next step is to fit the wedges into the side slots.
This will lock the sides in place onto the neck heel block.
The actual gluing is done later.
Next I glued the end block to the sides and onto the top.
Then I began to glue the peones blocks onto the sides.
The blocks uses is mopani blocks which is a dense wood.
Having a dense wood at the border of top and sides is a good thing for the sound.
I alternate the blocks with the usual lighter density wood.
Those junctions with the LTB and UTB and end block I try to fill in as much as possible.
Then I cut special blocks to fully fill the gaps.

Fitting the wedges to the slots

Glue the end block to the top and sides.

Gluing the peones block alternating between mopani and kiri wood blocks for contrast
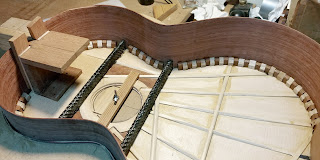
All done

Upper bout

Lower bout
20200401
Next I shape the back rim using block plane and the radius jig reference.
The actual fine tuning will be done with all the back braces in.
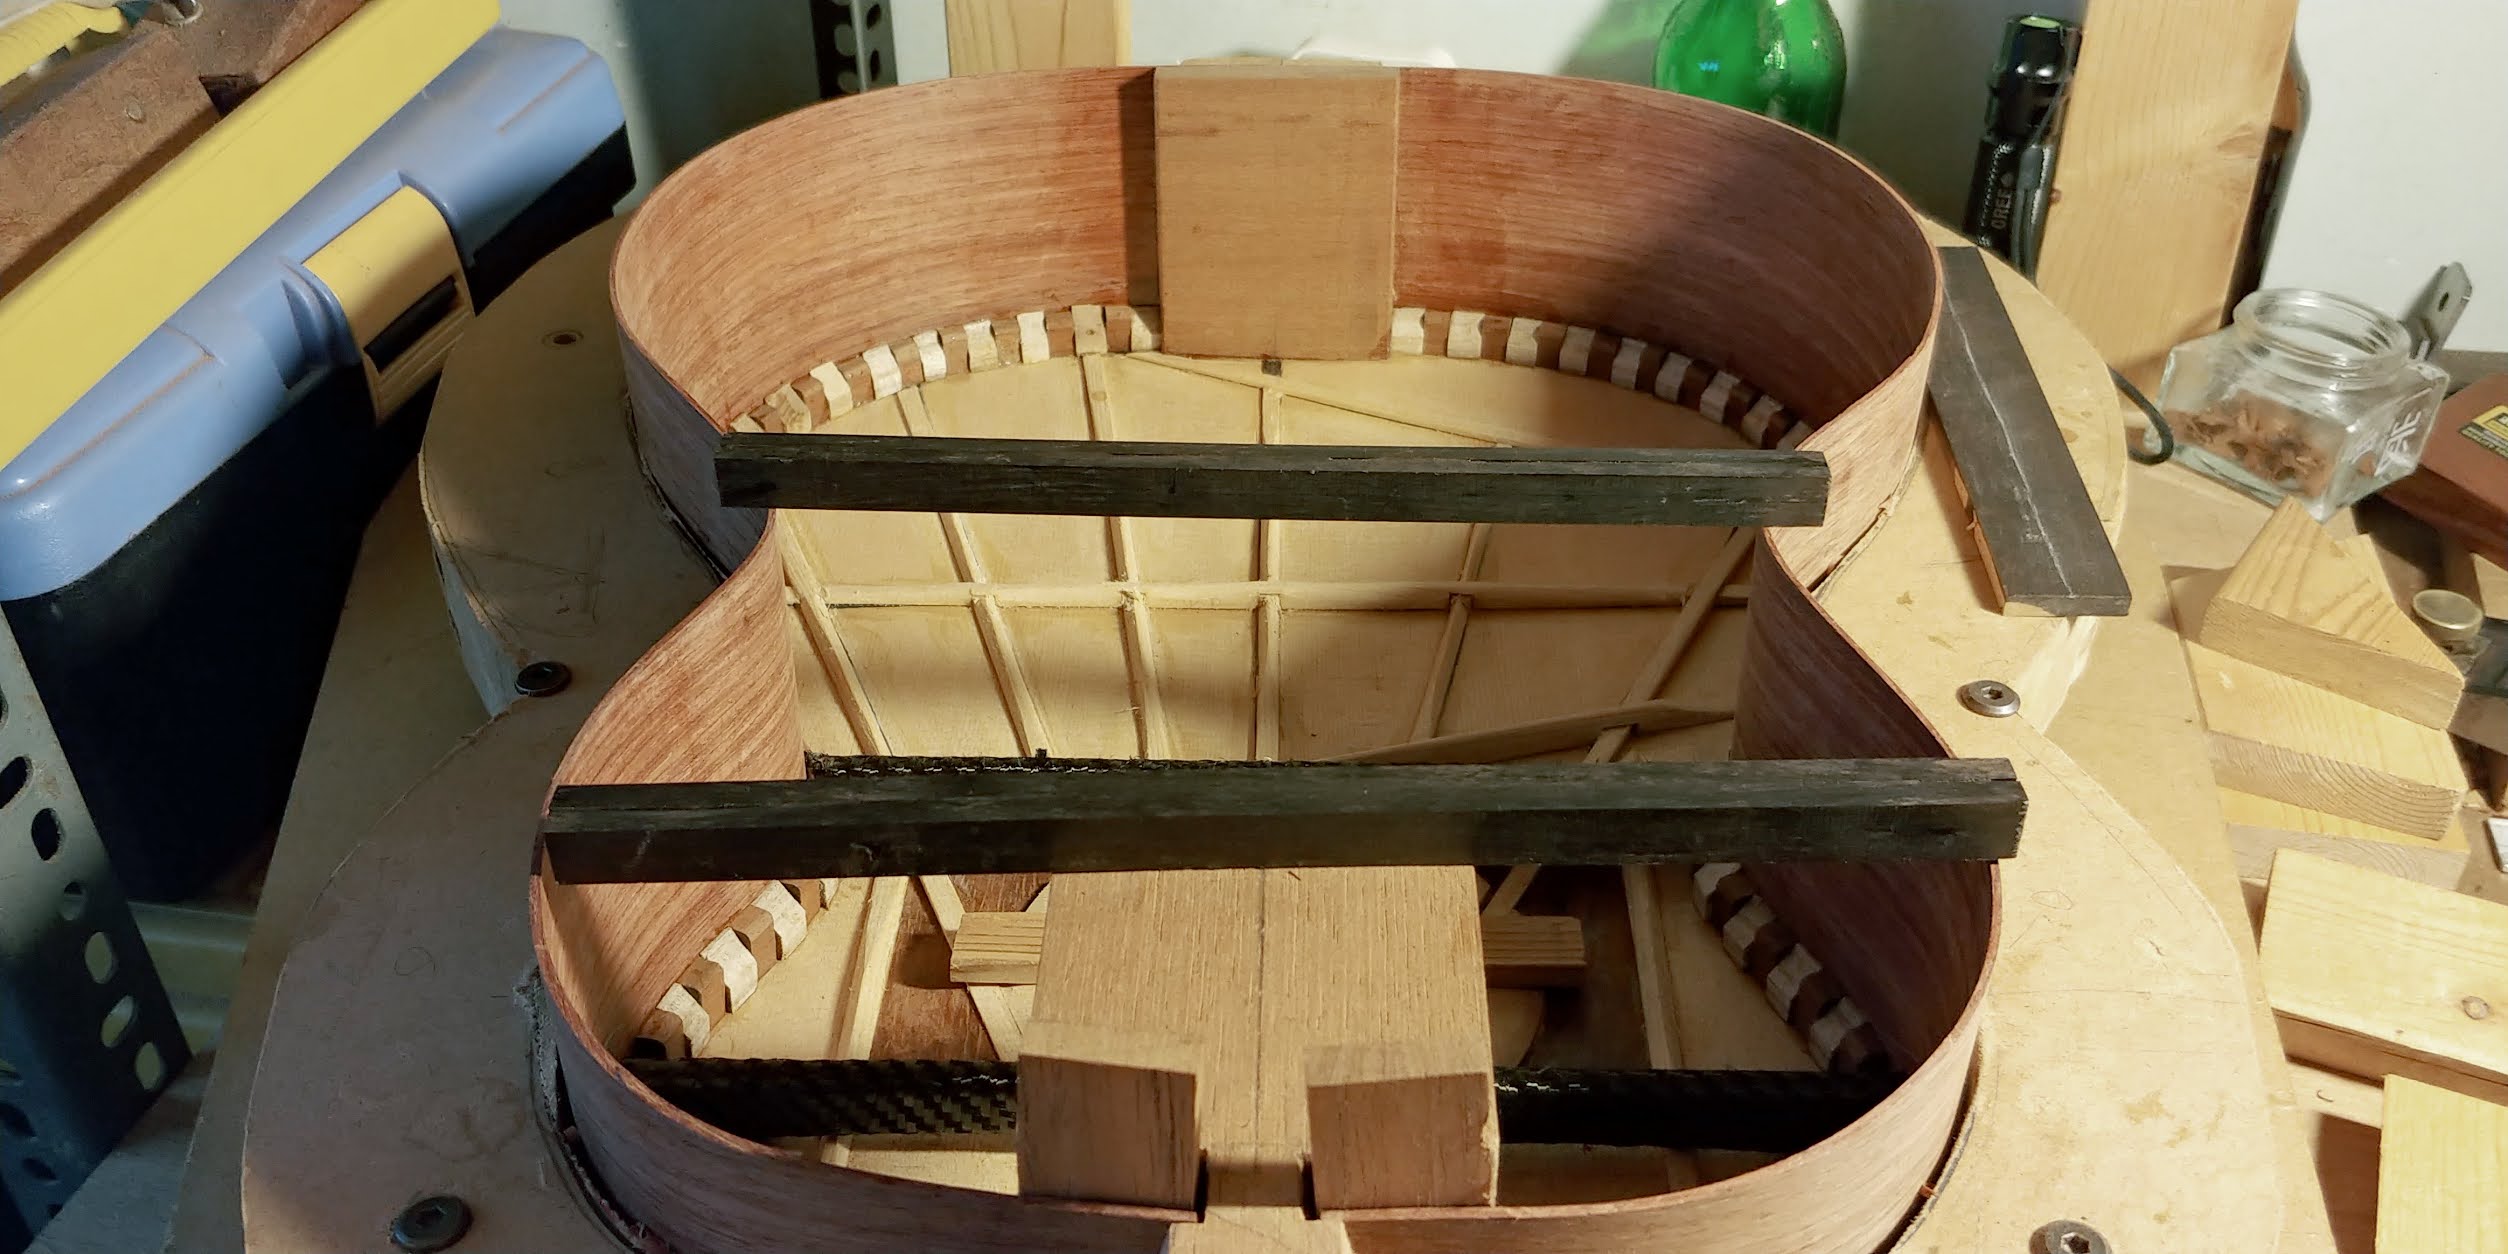
Next I prepared the side braces and the 1st 2 back braces using my African Black wood stock.
This is the first guitar using the ABW as a back brace mainly to focus the back vibrations onto the lower bout.

Shaping the back rim

Checking with the radius jig reference

Gluing up the back and side braces using ABW

Checking out the 1st 2 back braces
20200517
The side braces are glued next.
The side braces are hard to prepared due to the hardness of ABW.
My saws teeth were ruined due to it.
The 1st 2 sets of side braces needed to be fit to the curved UTB and LTB profile.
These took some time as the cross section profile of the UTB and LTB is like a bullet shape.
Once the side braces are ready, I began to glue them to the sides.
The first 3 sets of side braces are glued which also act as support for the LTB and UTB as well as the 3 back braces.
My preference is for the 2 back braces to be aligned with the 2 traverse braces of the top.
This creates a sort of gate looks within the guitar.
Once these main side braces are done the back braces are cut to length and the back curvature are shaped into the back braces.
Further shaping is done with the curve rule to ensure the back is smooth thru'out.

Glue the 3rd set of side braces for the 3rd brace support.

Checking the side braces fit with the UTB and LTB and back braces fit.

Checking the back curvature

All 3 back braces prepared.
20200606
The back lining is glue to back rim and shaped together with the back braces to form the overall back curvature.
The curve must be smooth otherwise the back will have unnatural dip somewhere.
Some makers uses radius dish to make the rim confirm to the back radius dish.
For me I use more of natural curvature of a flexible rule as a guide to fine tune the radius.
Once the rims is prepared the sides braces are glued too.

Gluing the back lining

Gluing the back lining (lower bout)

The back rim prepared

Top down view

The 2 black gates!

Gluing the gaps in the lining

Gluing the gaps in the lining

Checking the back curvature