It's roughly based on the FE17, not a replica but largely based on that.
Here I am doing the chess board tile in the central theme.
I will also the doing the herringbone wheat pattern surrounding the central theme.

The FE17 rosette. This is the actual Torres' FE17; the first Torres guitar that Francisco Tárrega used. It was originally Torres' own guitar but Tárrega persuaded Torres to sell him this FE17.
First of all I need to cut the veneer sheet.
Well I use my proven method to cut which was fast and quiet.
I clamp the rule on the veneer and then scribe using my purfling cutter.
After that I cut the veneer into size clamp in alternate layers of blue and white.
To get the thickness I use 2 veneers for each layer.
I intend to do a 5x5 matrix so I need to glue up 6 layers.
When I slice it into tiles I can alternate the layers to form the matrix theme.

Slice up the veneer

The veneer all done

Cut into 6 equal pieces


Layer the strips and measure the thickness

Clamp the strips after gluing.
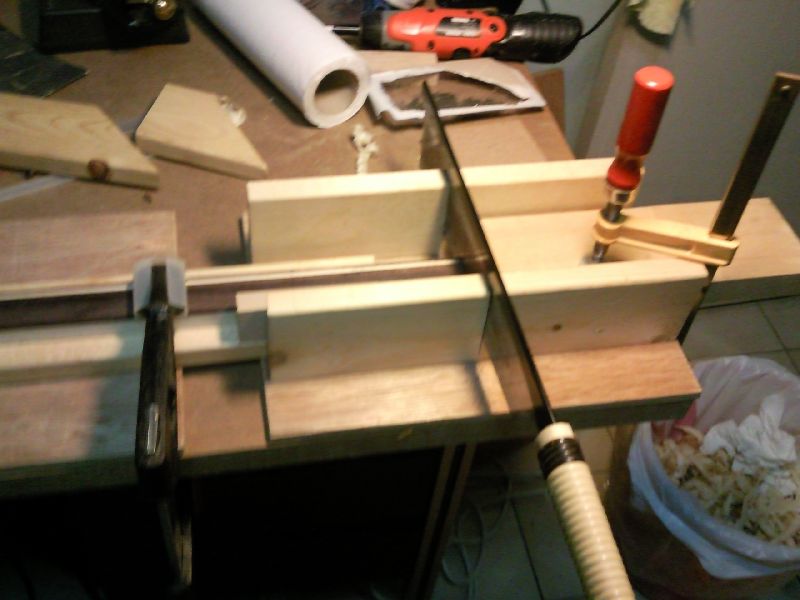
I just plane the sides flat and saw away the ends on a miter box.
When I began to saw the individual tiles slices for gluing into the matrix, it didn't work out too good.
The slice thickness was not very even.
I probably need to do something to improve the accuracy...

Shooting the sides of the block

A thin slice of the strip

Sawing the slices in a miter box

The 2 slices in alternate layout. As you can see the thickness is not even.
By adjusting the width and changing to the rip teeth of the ryoba, I am able to get a more unform slice.
However the slice is still too thick and doesn't seem to form the matrix too well...
Time for more narrow adjustment.

6x6 tiles but it look too fat.

Or 6x4 matrix but doesn't look very nice to me...
Meanwhile I began to smoothen out the top using my wooden plane.
It's been a while since I use the plane but after some tuning, it shaved the top like nothing.
The top originally was in a raw state where I can see the fibers.
At first I had no success in removing those fibers except by sanding.
But by sanding I am not able to bring out the beautiful silking in the top.
Only when I use the plane to plane the top the beautiful silking appears!

Planing the top

Beautiful silking in the top after planing. Now it will be ready for rosette inlay.
I adjusted the thickness of the slice by loosening the clamp and give the block a slight tap.
Then I began to slice the tile and the thickness is just right.
But because there isn't support on the tile below, it started to de-laminate due to the sawing stress on the layers.
So I put a piece of wood beneath to support the tiles while I slice up the layers.
It worked and I was able to get 6 good slices to glue up.
I glued up the layers after making sure the orientation is correct and clamp the tiles.

Dry fitting of the slice. Now the effect is better.

Preparing to glue the slices

Glued and clamped
After looking thru' the photo closely, I just realise I can't count...
This is not a 6x6 matrix... It's 10x6 (white and blue) or 5x3(blue only) haha
No wonder it look funny; Nothing like the original which is 8x8 or 4x4(blue only)

The rosette tile glued. Now to cut them into slices. This is a short tile so I think I can get 4 pieces out of it. I probably need another block to do the rosette
It's a been a long breaks since I work on #4's rosette.
Well, finally I found the time to continue making it.
Here is the 2nd layer of the lozenges (king of big but still looks quite OK).
I also began to work on the outer wheat motif purfling.
The Angle will be 30 degree to facilitate easier sawing with the miter box.

The lozenges layer.

Wheat motif purlfing

Another option for the purfling. Which looks nicer?
I started to glued the purfling block and decide with the 1st scheme.
The procedure is same with the way I do with the rosette block.

Apply the glue.

Clamped.
The making of the wheat motif purfling is going well.
After the block has dried, I plane level the 2 sides and saw off the ends in the miter box that I have made.
The angle is 30 degrees.
Then I clamp the stopper block to predetermine the thickness of each tile and started to saw the tiles.
The line is skewed vertically but it's ok the effect isn't too visible in the final product.
This just shows my jig making has yet to reach the precision that I would like to have.
After the tiles are sawn I dry assembled the purfling and it sure looks good.
The width of the purlfing is about 4mm.
Now to consider how to assemble them.
Basically I have 2 options to glue and assemble straight into the top or to preassembled and then inlay into the top.
For the 1st option my channel must be very precise.
If not gaps will occur again.
I got the next few days to think about before I continue.
Meanwhile I just saw enough tiles to make 2 purfling one outer one inner for the rosette.
For the top and back and side purlfing I better think of a better way to make this faster and less painful.

Level the 2 sides of the block

Trim the ends to 30 degrees in the miter box

The miter box set up for slicing the tile.
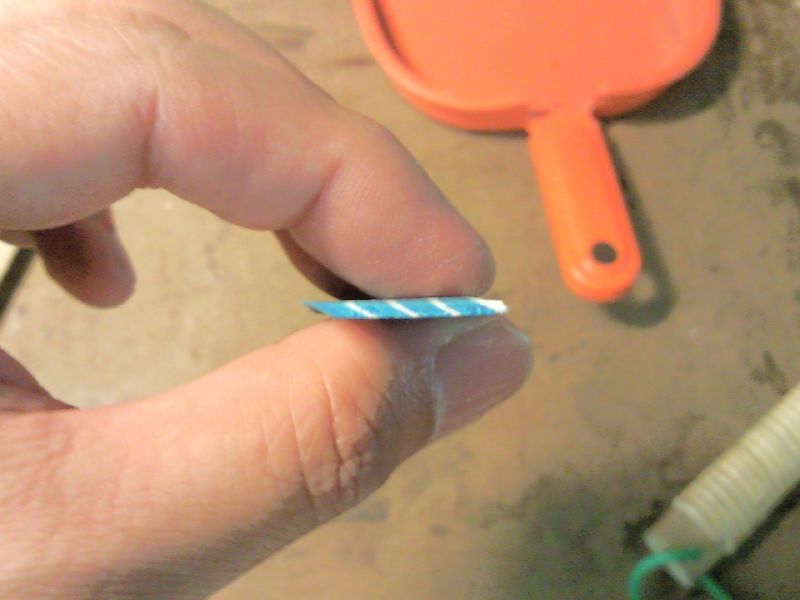
One slice sawn.

The wheat motif purfling.