Custom Search

2013-10-18

Prepare for Assembly

20131105
Sorry for the delay in updates.
I was really busy for the past few weeks (work, family, other things), resulting in not much being done.
Being sick for the past week didn't help too.
Anyway I think I should be ready for assembly this week.
Once the weather becomes better I will start the assembly process.
This few days has been raining so the RH will be too high for gluing.
Gotta be a little patient :)
Anyway stay tuned...

20130920
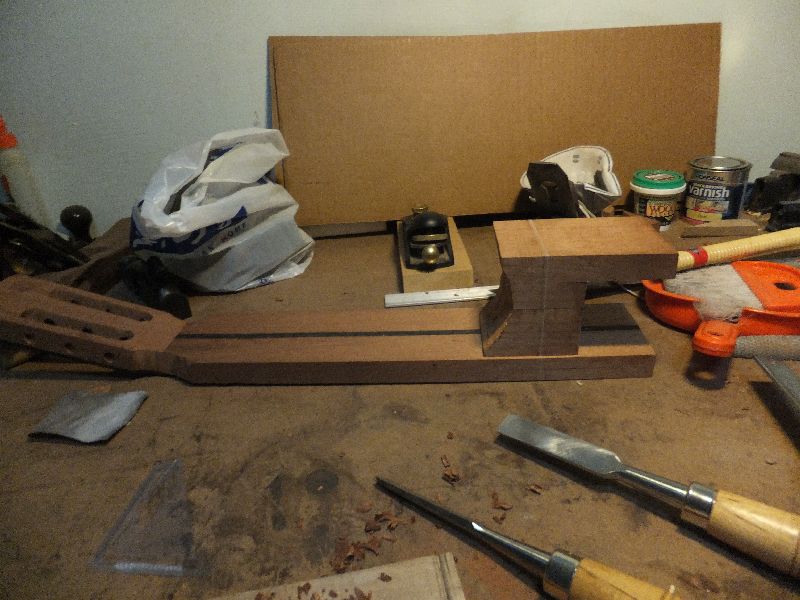
I also began to prepared the end block for assembly.
The end block blank was quite thick and so I saw into 1/2 thickness (slightly more than 10mm thick).
Following that I shape it using block plane and sanding block.
The sanding block is actually the end fence of the solera where the 2 butts of the sides met.
Closer to assembly time :)


Sawing the end block into 1/2s. Each blank can yield 2 end blocks


After sawing.


Shaping using block plane


Fine shaping using sanding block (which is part of the solera)


Checking the fit


Sawing off the protruding ends of the traverse brace.


Clean up with chisel.


Almost ready for assembly!


Sides fitted to the mold / solera


20131007
I shape further the neck's heel block in preparation for assembly.
Check out the neck making post last part.

20131018
I first measure the top thickness and router planed the same thickness onto the neck's heel block area.
After that I smoothen with sandpaper and plane.
But upon checking on the solera seems like I have remove too much material on the neck.
It's ok I will be adding one more piece onto the top to thicken it and then shave down to fit the neck.

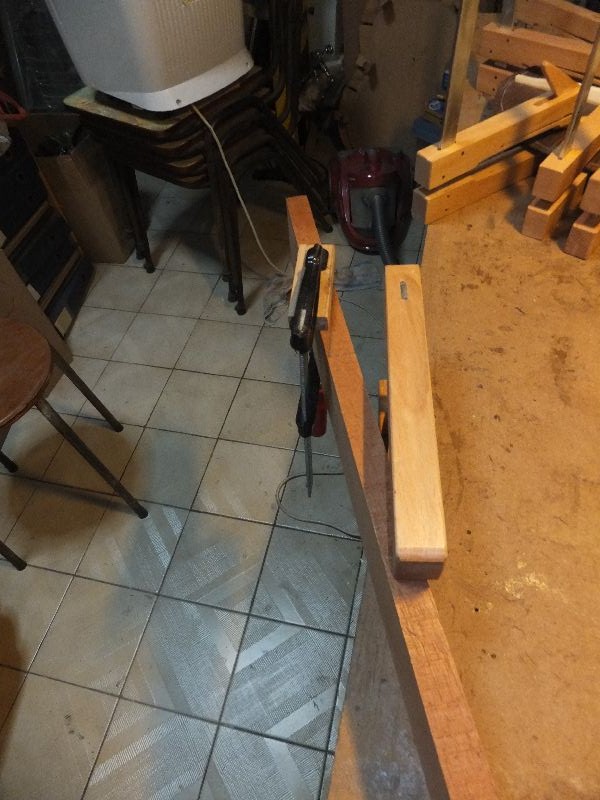
I saw the slant on the sides after measuring the slant angle on the neck side slots using a slide bevel.
I measure the distance from the center line and mark the base onto the sides. After that I transfer the angle form the sliding bevel to the sides.
It is very easy to get the slant orientation wrong so before you saw away do double check triple check to confirm.
Place is side by side on the neck and visually ensure the angle is correct.
Then I saw away the excess.

The sides were too thick so I use the right angle rule as a stopper and plane the side until it fits the slot.
After the sides can fit in it will be almost assembly time!


Transferring the slant angle to the sides


Double check the slant is correct orientation before sawing


Check the fit


Both sides done


Check the fit for both sides


Set the depth on the router plane from the top


Remove the material for the inner heel block


Smoothen with block plane


Done. Next almost ready for assembly! Yeah!

20131107
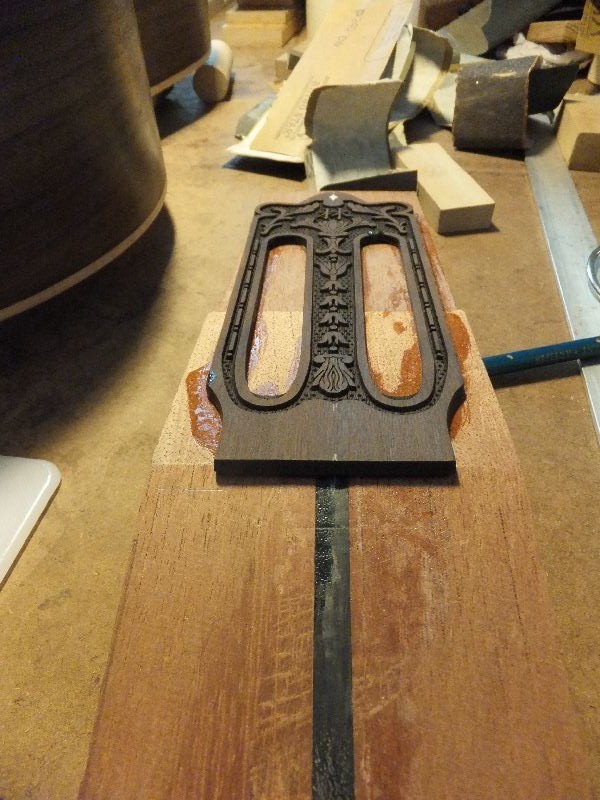
I glued in the patch for the neck.
Next will be gluing neck to top the start of assembly.


Apply the glue on the patch


Glue and clamp

2013-10-07

Making the neck


20130429
I began to make the neck.
When I was sawing the blank for the scarf I accidentally cut my finger.
I was holding the head part for the past part of the sawing and the saw dropped on my index finger.
At first it didn't look too bad but I was bleeding quite a lot until I felt a bit faint.
Apparently the blood didn't clot until I reached home...
I check the saw blade there some part of my skin was there.

Preparing to saw the neck


Sawing the neck


Cut


Well the sawing isn't that good need to clean up with my plane.


Cleaning up the scarf joint


Close up of the red mountain cedar. Looks like Spanish Cedar


20130510
Continued on the neck, saw the pieces for the heel stack and ripped the center piece into 1/2. Then I glued a center ebony spine to the main neck. The 2 neck pieces were flipped over; left become right and right become left for better stability.


Shoot level the 2 sides of the neck


Shoot level the ebony piece


Saw the neck into 1/2s


Glue them up.


Glue and clamp


The main neck is done. Need to plane the ebony piece level with the neck.


20130802
It's been a long time since I worked on this guitar.
The top has been lying there in the solera for quite sometime.
Well the wait was due to several factoring including me concentrating on finishing up #3
I started to glue the neck together after confirming that the headplate size fits.
After that I can proceed to carve neck and heel; meanwhile the neck and heel block are glued separately for now.


Gluing the neck


Gluing the heel


20130807
I glued the headplate on and once it's dried it will be ready for carving the headstock shape.


Ready for gluing


Applying hide glue


Checking alignment


Clamped


20130815
I continued on the neck.
First I planed the sides of the head until it fits the headplate.
Next I saw and file to shape the head shape
The tuner holes were next and following by the slot holes.
All were perfect until the slot holes...
Because the location of the holes were next the tuner holes the Forstner bit got suck into the tuner holes..
And the hole went off the intended place 1/2 way in depth...
Luckily it wasn't too bad and can be remedied with some sanding.
Finally I file the tuner holes section; the string ramp part
My usual neck has a straight string ramp but this one has a rounded one due to the headstock carving which wasn't doen by me.


Chiselling away at the head-neck joint part to allow space for planing


Planing the side of the headstock to fit the headplate.


Saw off the excess in the headstock.


Sawn off the excess


Chisel to shape and smoothen with file later.


Drilling the tuner hole


Drilling the slot hole


The right bottom part where the forstner bit got off tracked into the tuner hole..


Saw away the excess slot


Chop off the excess


Saw away the nut part of the headplate


Clean up with chisel


Guide holes for heel block and neck; to help align the 2 during gluing


Head stock done (quite ok except for the mistakes)


Big 2" forstner bit for the heel arc curve part. But it drifted during the drilling I had to use a smaller bit to remove the waste and finish by rasp


The neck ready for gluing


Glue the heel to the neck and clamped.


20130819
I began to cut the side slots and rough shape the heel.
With a 5 degree wooden block guide, I started the cut with my douzuki.
After the slotting gets deep enough the guide block is removed and continue the sawing with the douzuki.
The hard hard is the 2nd cut of the same slot/side, the guide block is clamped to the new position.
After removing the guide block the saw will tend to drift.
I had to remove some of the waste (2mm thick) by chisel and widen the kerf using my western gent saw with a scraper spacer.
After both slots are done I saw the heel front front and shape with my rebate plate.
The front curve is shape with my roller sander drill attachment.


Guide block for the slot cut, it's angle at 5 degrees offset.


Checking the slot width after sawing. The square's thickness is about 2mm


Both slot done


Sawing away the heel's waste


Rough shaped heel.

20131007
Well it has been a while since the last update.
I was caught up with something so basically didn't have time to make any progress.
So now I am basically preparing the parts for assembly and this is the final part for the neck shaping the inner heel block.
I was pondering to update it here or under pre-assembly post but decide to update here for completion sake.
So I basically saw away the excess to taper the heel block and not make it so squarish.
Squarish will work as well just matter of looks and preference.
After that I spend quite sometime shaping it making it leaner and reducing the weight.


Sawing the excess in the inner heel block so that the foot is narrower and heel (top side) is broader.


Chisel the excess away after I round off the corners with file and rasp


Next I removed the end grain with my new LN scrub plane (it's narrow enough) Other planes are too wide...


The heel block rough shaped. Need to sand it more.