Guitar #3 and #1
Here is the sound clip after changing the strings.
I compared it with my #1.
I must say initially #3 sounded quite weak; but after intense playing by my friend (owner of my #2) the guitar opened up tremendously.
The bass were no longer shy the trebles projected very far.
But to the player #1 still sounded much better.
The upper notes were more even compared to my #1 but it doesn't have a really outstanding note.
My #1's B A and E notes is really outstanding compared to other notes.
This #3 all higher notes are very even.
Listen to the La Catedral clips and you will hear that in recording, the #3 sounded much open (airy).
Bass wise both are OK though not as outstanding as my WRC Gutmeier Fleta copy's bass.
In terms of volume after opening up #3 beat #1 flat.
I was quite surprised at the changes #3 underwent.
Barrio's Aconquija
Guitar #1
Guitar #3
El Testament d' Amelia
Guitar #1
Guitar #3
Lagrima
Guitar #1
Guitar #3
La Catedral 1st movement
Guitar #1
Guitar #3
I brought the #1 and #3 to office for testing and my friend brought the #2.
We compared the 3 guitar and each had very different characteristics.
My friend played various pieces including Bach's Chaconne, Concierto de Aranjuez, Albeniz Granada, Asturias and some modern fingerstyle pieces.
Listening were done at about 10 - 15 m away.
String used are quite similar, #1 and #3 have identical strings Hannbach GoldBass 825 with Aqulia nylgut treble.
#2 has D'Adario bass (I think) with Aquila nylgut treble.
#2 is the loudest amongst the treble at that distance and has the brightest tone.
It's treble is especially prominent and penetrating.
Single line melody like Concierto de Aranjuez (Adagio) sounded the best.
When played with baroque, it can sound a bit unbalanced with the bass.
#3 has most even voicing between the bass and treble and bass and the darkest tone amongst the 3.
But at the distance it can sound pretty boring.
Baroque pieces sounded the best and surprisingly fingerstyle music sounded very good.
This is because all the in between rhythmic structure can be heard quite prominently without overpowering the melody.
#1 is in between the two and Spanish pieces sounded the best in this guitar.
Projection wise is in this order #2 > #1 > #3.
It was an enjoyable evening.
My friend Kong Meng trying out the guitars. He is very vesatile musician and an expert all genre of music and instruments including classical guitar, fingerstyle guitar, Jazz guitar, violin and even drums!
He is trying the Chaconne
Do Re Mi
20130828
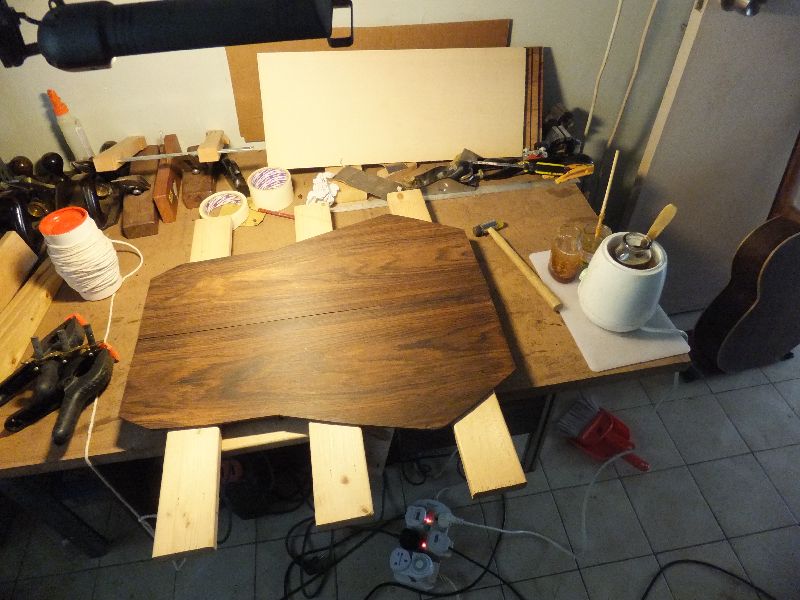
Some pics of my #3
The video was taken at about 20 - 25 m away. It can sure fill up the entire office!