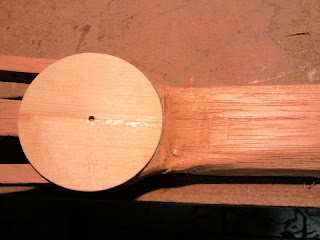
What's next? Well I guess it's the gluing of the fingerboard.
The fingerboard is already tapered correct.
What I need to do is to align the center line and make sure the fret slots are perpendicular to the center line.
After that I drilled 4 guide holes and start the gluing process.
I clamp it down with clamps.
I place a wood block beneath the top and apply a clamp there.
Find the center line using the metre rule.
Drill the guide holes (1 mm)
Using wire to fix the position.
Fingerboard caul
Saw off the 1st fret excess.
Ready for gluing
Heat up the fingerboard
Apply HHG
Glue to neck with the 4 pins are guide. The cauls has 4 holes to allow for the pins / metal wire
Apply the clamps
When it's dried, I began to shape the neck with my beloved rebate plane chisel and the spokeshave.
First I saw off the excess portion of the neck to fit the fingerboard.
At one side I use the ryoba and it's fine but the other side I use the coping saw and it cut a little into the fingerboard... argh...
Not choice I would have plane / sand it away.
After that I shape behind the head using the chisel.
It was all messy of shavings...
Saw off the wings of the neck
Shape using my rebate plane
Fingerboard done.
Shape the neck.
Mark the back of the head.
Chisel to shape
File to smoothen the curve.
Shaping the heel
Shaping the neck using spokeshave (2 handed of course)
Sanding smooth the curvature (2 handed)


No comments:
Post a Comment