Welcome to my guitar building blog.
This blog describes my journey into the world of guitar building.
I like to share my experience of building and hopefully it can be of some help to all the guitar making enthusiast.
Hope you enjoy my blog post!
2015-05-18
Preparing for bracing
20150313
Normally this section will come under bracing
Since I am doing 3 guitars at one go I thought I just lump them all under this post.
I joint up the donut sound hole reinforcement using the spruce cut-off from the top.
I have enougth to make 4 actually.
I find the cam-clamp very useful in doing this type of ad-hoc non-critical joints
After this I would need to split some braces.
20150320
After all the blanks are jointed, I began to cut out the disc.
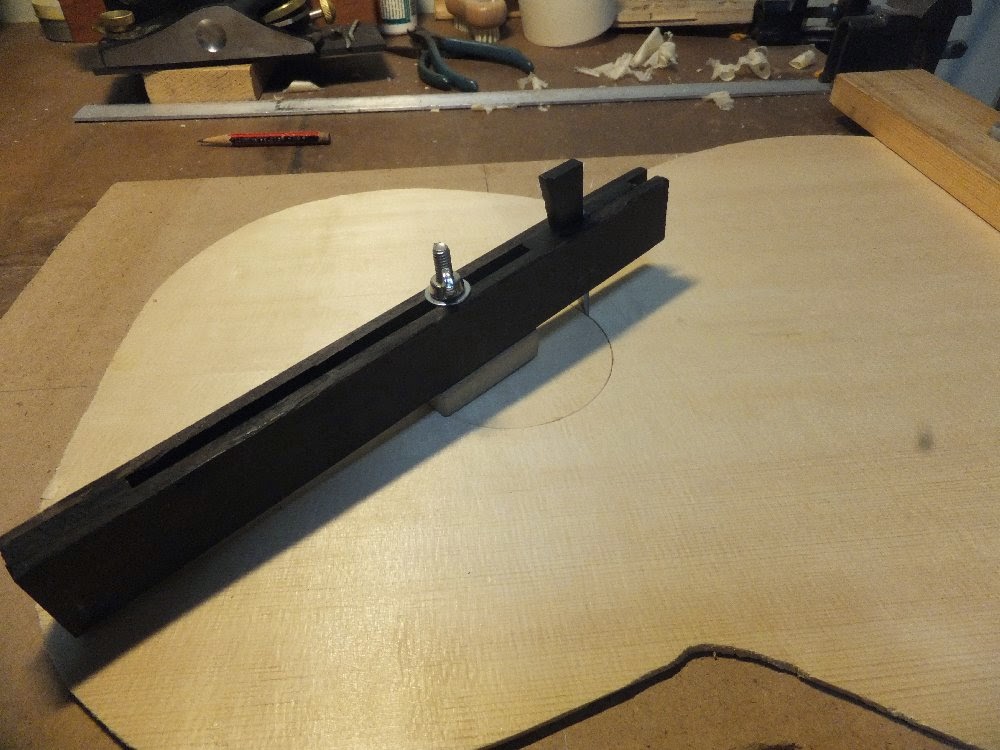
But before that I had to drill the center hole.
I am using my favourite self-made scribe.
20150516
I split somemore brace and plane them down to shape.
I had to go to the staircase to split and eventually ground floor as it's night time and the hammering noise will be a disturbance to the lower floors...
I split 2 spruce one is Lutz and one is Englemann; the Lutz spruce definitely feels stiffer than the Englemann.
So I will be using the Lutz for the fan bracing and Englemann for the UTB and LTB.
20150518
After cutting out the brace blank, I lay them out on a board.
It was raining these few days so I delayed the bracing gluing due to the rise in RH.
2015-05-16
Inlay the rosette
20150313
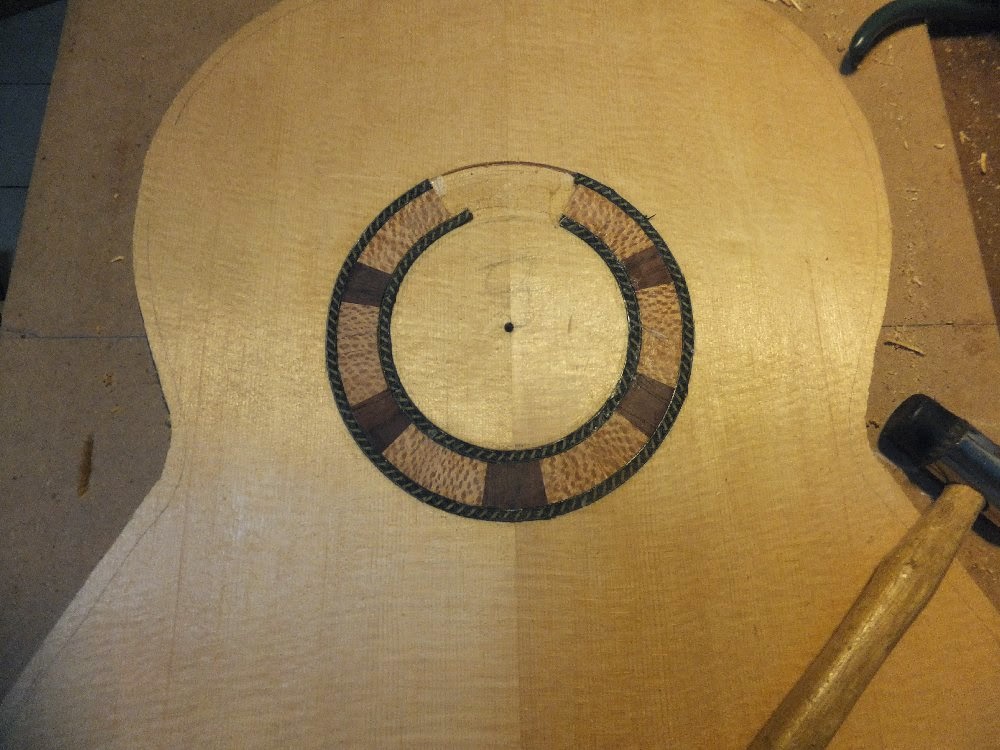
I began to inlay the rosette for the #8.
Actually the steps is similar to #9
I scribed the ring and carved out the channel using the router plane.
Fill the channel with white glue and then glue and clamped it.
At this stage the fit isn't quite as important.
The borders will be covered by purfling.
20150320
I trim down the rosette.
20150325
I also began to inlay the purfling for this guitar #8.
The steps is similar to the #9 which I did earlier.
20150402
I inlay the outer purflin.
Before inlaying I would do a dry run to ensure the fit is good.
For such precise stuff it's better to take it slow and do as much dry fitting as required.
No use to rush for it.
20150403
The rosette is done.
The inlay work looks quite ok.
Now have to sand and clean up the top
Now the 2nd part of the story is #7 inlay of the rosette.
The steps are similar to previous.
But this time I cheated a little and use the dremel to route the outer arch.
But I notice the cut using the manual cutter is more accurate and precise.
20150404
I uncoverd the clamp and check the rosette looks pretty ok.
After that I shaved down the thick rosette and try to see which purfling fits better.
20150423
I patched the uncovered segment for the #8 with the spare spruce cut off.
As I do not have a piece big enough to cover the entire section I use 2 piece instead.
One bigger piece which will cover the centre seam and one smaller piece to fill up the rest of the channel.
The piece was first sawn and then chisel to fit the channel.
After that I work on the inner purfling for the #7.
It's pretty straight forward.
20150430
The last bit of the purfling is inlayed.
20150516
I patch up the rosette channel and plane them down.
2015-05-01
Thicknessing the top
20150501
After the rosette is done, next will be thicknessing.
For this top I thickness the top accordingly to the normal thickness that I have.
After I cut the sound hole then I adjust the thickness again by tapping the sound board.
The tap tone before cutting the sound hole and after is quite different.
After cutting the sound hole, the main tap tone comes from the lower bout response.
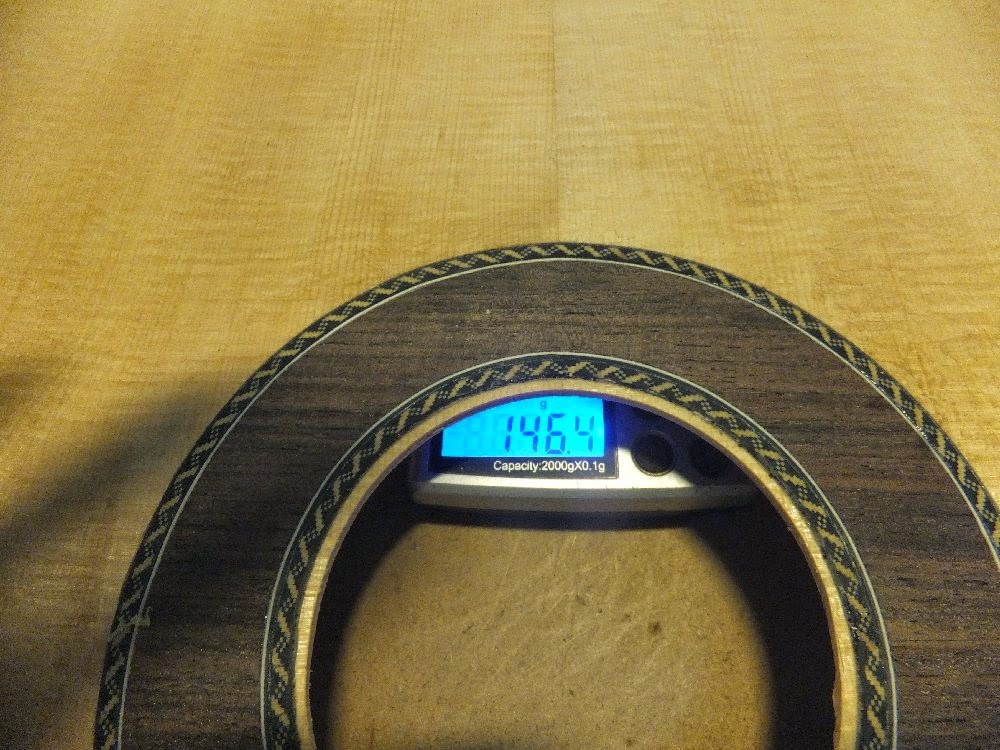
It should sound a bit like cardboard after thicknessing. I also recorded the weight and tap tone of the top after thicknessing.
The top weight is about 146g which is near my #3 weight. I'll probably go a lighter a bit for this top.
After final thicknessing the weight reduce to 133.6g. (I made a mistake in the weighing previously)
It also feels stiffer than the Englemann spruce used in #8.
In general, I think Lutz spruce is much better than Englemann spruce.
Thicknessing the top
20150501
I cut the sound hole and thickness the top according to my own thickness map.
The final weight is around 145g.
I had expected this top to be in the 120g region so I guess I can shaved off more.
Subscribe to:
Posts (Atom)