
20150313
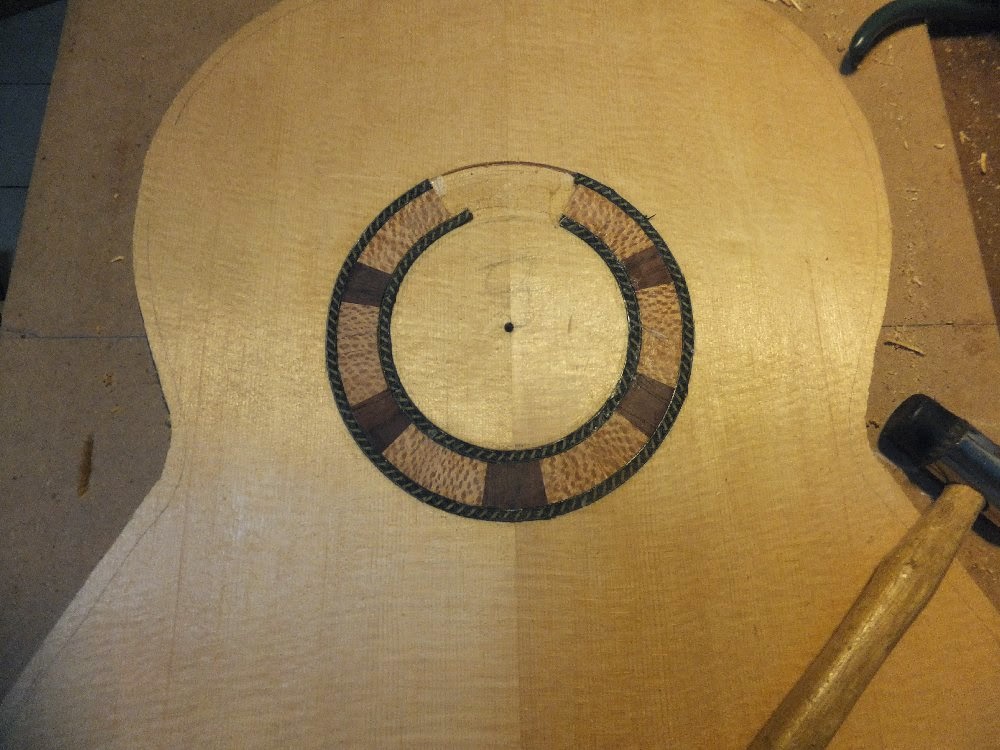
I began to inlay the rosette for the #8.
Actually the steps is similar to #9
I scribed the ring and carved out the channel using the router plane.
Fill the channel with white glue and then glue and clamped it.
At this stage the fit isn't quite as important.
The borders will be covered by purfling.

Glue the rosette

Clamp it
20150320
I trim down the rosette.

Plane down the rosette

Planing done
20150325
I also began to inlay the purfling for this guitar #8.
The steps is similar to the #9 which I did earlier.

Routing the purfling channel

Channel routed

Inlay the rosette

Tape it down

Looks nice.
20150402
I inlay the outer purflin.
Before inlaying I would do a dry run to ensure the fit is good.
For such precise stuff it's better to take it slow and do as much dry fitting as required.
No use to rush for it.

Chisel the outer purfling channel.

Dry fitting

Apply glue

Start to inlay the purfling.

Tape it down.
20150403
The rosette is done.
The inlay work looks quite ok.
Now have to sand and clean up the top

Rosette done
Now the 2nd part of the story is #7 inlay of the rosette.
The steps are similar to previous.
But this time I cheated a little and use the dremel to route the outer arch.
But I notice the cut using the manual cutter is more accurate and precise.

After routing with the RTX (dremel), I clean up the channel with router plane.

Preparing to glue the rosette

Apply glue

Inlay and clamped
20150404
I uncoverd the clamp and check the rosette looks pretty ok.
After that I shaved down the thick rosette and try to see which purfling fits better.

Plane down the rosette

After planing

Check the purfling
20150423
I patched the uncovered segment for the #8 with the spare spruce cut off.
As I do not have a piece big enough to cover the entire section I use 2 piece instead.
One bigger piece which will cover the centre seam and one smaller piece to fill up the rest of the channel.
The piece was first sawn and then chisel to fit the channel.

Marked out the pieces

Chisel to fit the channel

Apply glue

Glue in the pieces and tape it down.
After that I work on the inner purfling for the #7.
It's pretty straight forward.

Route the channel.

Dry fit to check the channel size.

Apply glue

Glue in the purfling and tape it.
20150430
The last bit of the purfling is inlayed.

Cleaning up the channel after routing

Dry fitting the purfling
Glued in the purfling
20150516
I patch up the rosette channel and plane them down.

Marking the shape of the patch

Planing down the patch

Done.
No comments:
Post a Comment