
20140821
I also prepared the fingerboard.
I marked the center line and measured the correct width and saw almost to size
After that I plane the fingerboard until the line.
Following that I marked the circle from the soundhole and cut the ends to shape.
I included a 20th fret for this guitar.
The bass side was also thin to be 1mm lower than the treble side

Marking the width of the fingerboard

Saw to near the width line.

Plane it to the line.

Thinning the fingerboard for the bass side to be lower than the treble side by 1mm

Sawing the excess part of the finger board. Include a 20th fret for this guitar

Chisel to shape.
20140825
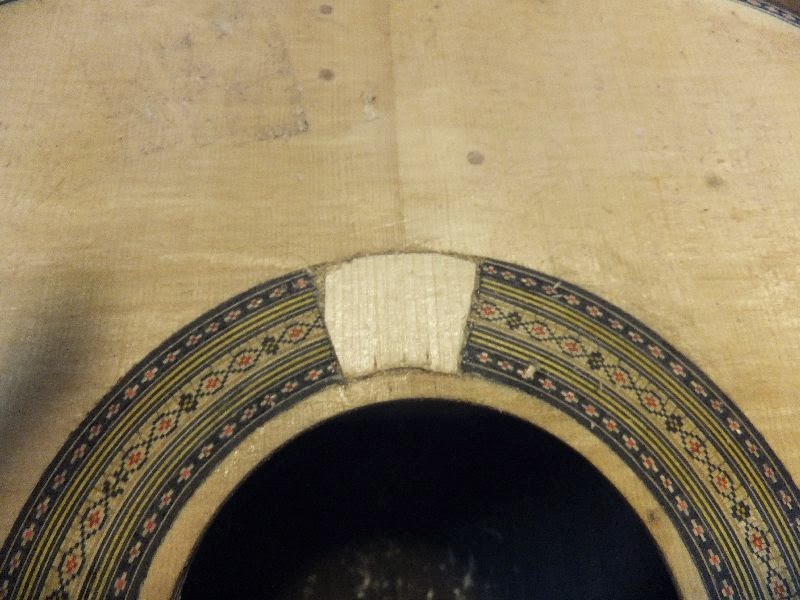
I patch the section of the rosette channel.
I just clean up the channel and cut a spruce patch to match the channel.
After that apply glue and clamp.
When the glue dry, I will level it.
Actually it is not really necessary to patch, I know a lot of maker doesn't bother.
But I believe having a solid area underneath the the fingerboard is crucial the upper fret treble response.
So since I have already a massive neck underneath, it doesn't make sense to have it undermined by a hole weakness in the area.

Cut a spruce patch to match the rosette channel and apply glue to the channel.

Clamp the patch.

A teaser pic of how it will look like after completion.
20140828
I finish up the curved part of the fingerboard at the sound hole.
Mainly I trace it with white color pencil using the sound hole itself.
The fingerboard is shaped using chisel to remove the bulk of the material followed by file and finally sander drum to finish up.
Now it's ready for gluing.
Also, I planed down the rosette patch at the soundhole.

Shaped using the file.

Finish up with sander drum.

Plane down the rosette patch
Done. Still need some sanding on the sound board
No comments:
Post a Comment