20190502
I started designing and making the rosette while I was doing the neck and other things.
I wasn't quite sure how the rosette would turned out so experimented quite a fair bit in making the tiles for the rosette.
The motif I had in mind was based on the Romanillos arches but I wanted to simplified it a little.
No much photo was taken during the making as I was concentrating on the making instead.
In the end it turned out pretty well, I'd say.
The hard part is to form the arches.
This was achieve by having 2 blank with a triangular cross-section profile.
One blank was planed with a convex based plane while the other having a concave plane.
The final part was sanded using the blank itself to ensure the fitting.
Finally to glue up, a black veneer was sandwiched between the 2 blanks.
After that the blank was cut into tiles.

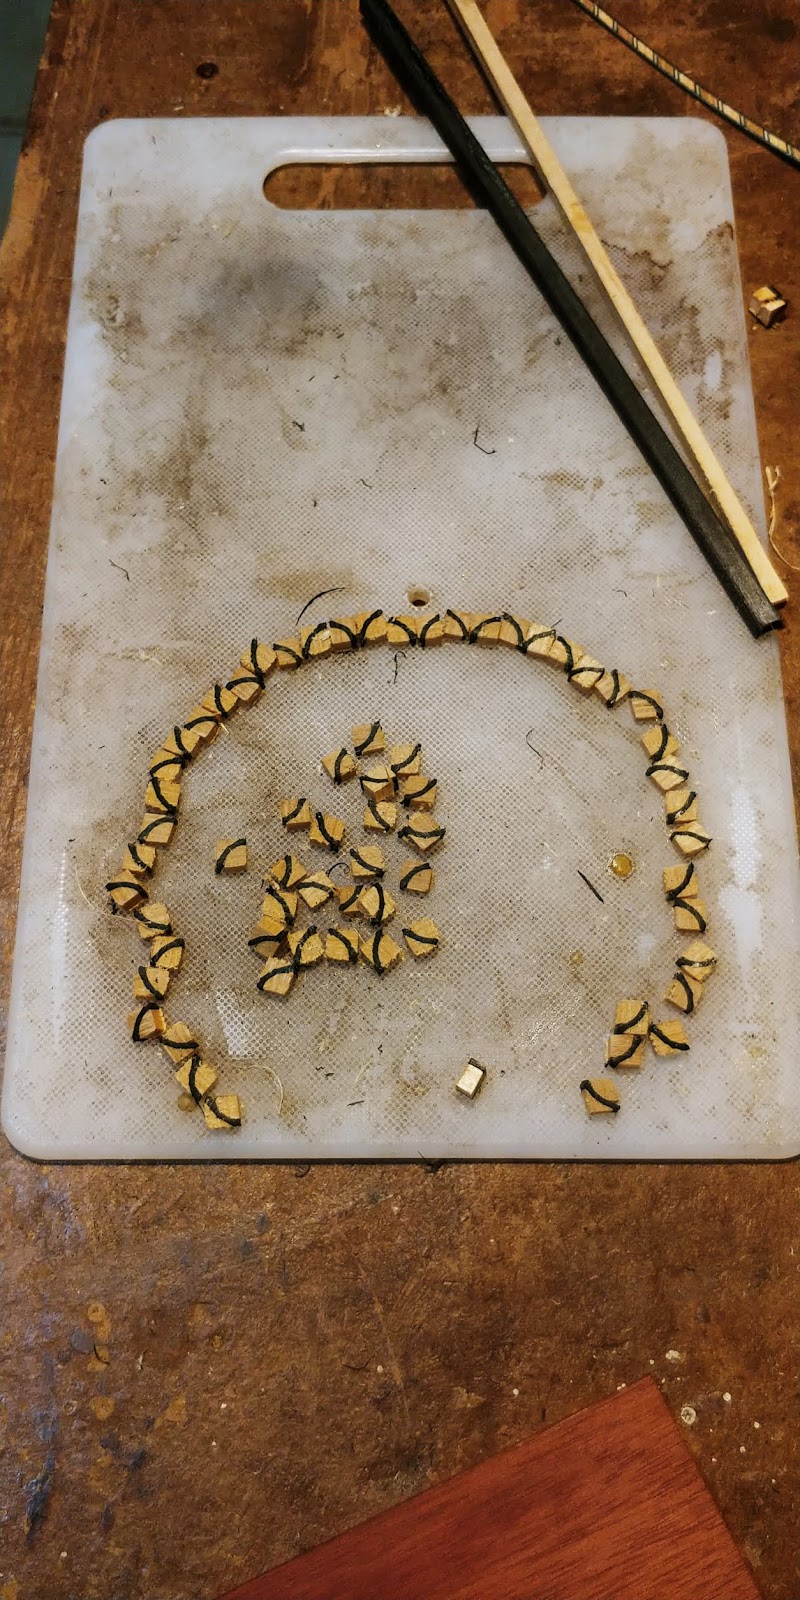
Arches tile - 2 tile form a arch
Next was to form the pillars which support the arches.
For this I use several blanks which include the red coloured bloodwood.
This part was relatively easier.
As the arches were formed using white as background the pillar section was similarly using white as background too.

Gluing the blank to form the tile for the pillar

Gluing the blank to form the tile

Cross section of the pillar tile
20190516
After the tile is cut they are temporarily laid out to see the effect of the rosette.

Pillar tile cut

All the cut tiles

Trying out the tile layout to form the rosette
20190527
Subsequently more tile variation were added to the rosette motif.
It has evolved to become like a train bridge of some sorts.
I jointed a centre piece for the embedding of the rosette tiles instead of embedding into the main top directly.
This gives me the option of trying out various designs before inlay into the top.

Create a channel for inlaying the rosette tiles

Testing out the rosette tiles motif

The base layer inlayed
20190603
The inlay tiles were planed down to level and I proceed to cut the channels for the other pillar motif section.

Plane the tiles to level

Scribing the 2nd channel for the pillar motif tiles

Route the 2nd channel using router plane

Channel cut

Layout the pillar motif tiles
20190606
After the 2nd channel is cut, I began to inlay the 2nd set of tiles with a pillar motif.
In between the pillars, I create a tile that sort of look liked water body with that green blue lines.
So together it looked like a sort of train bridge.

Inlay the 2nd set of tiles

Main motif done
20190626
After that I level down the main motif channel mostly by sanding.
All the tiles were essentially end grain and it doesnt take planing too well even with a sharped low angle block plane.
After that I also cut the channel for the surrounding purfling theme.

Central rosette theme level down

Another angle. After sanding the colour also looked better

Channel for the outer purfling is cut
20190711
The outer purfling is inlayed

Inlaying purfling

Inlaying purfling
20190726
After both purfling is inlayed the rosettte is cut to shape.

Inlaying both the purfling

Rosette cut out roughly
20190729
After that the rosette blank backing is thinned down almost to the rosette tiles itself.
This is to prepare for the inlay into the sound board.
Subsequently the channel is cut into the top and inlayed onto the top.

Thinning down the backing

Cut to rosette shape

Marking the rosettte location

Routing the channel

Inlay the rosette
20190806
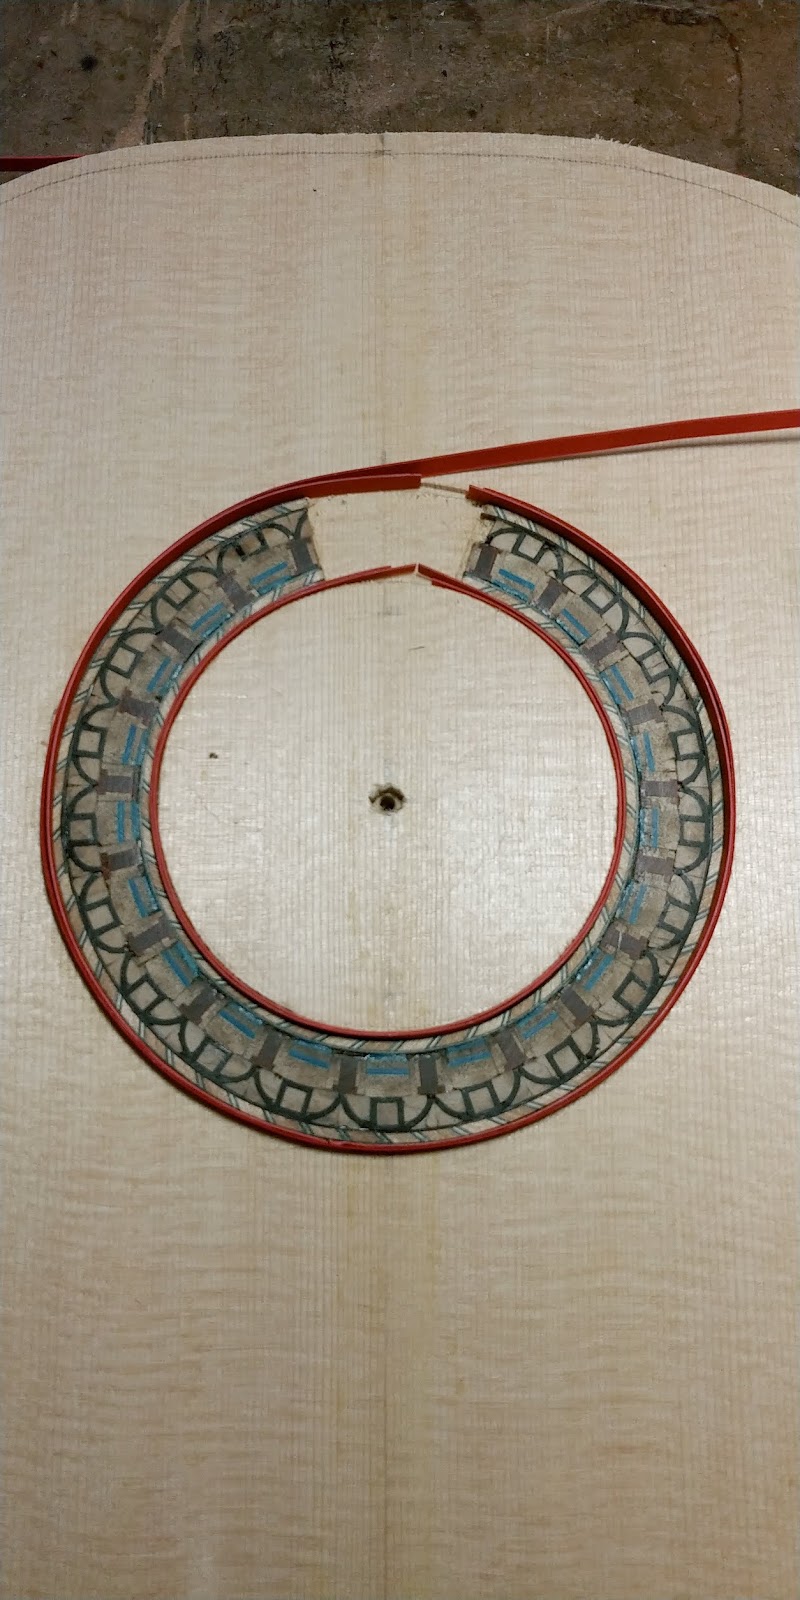
Following that I added a tinge of red purfling to the rosette to make it more compatible with the back wood.
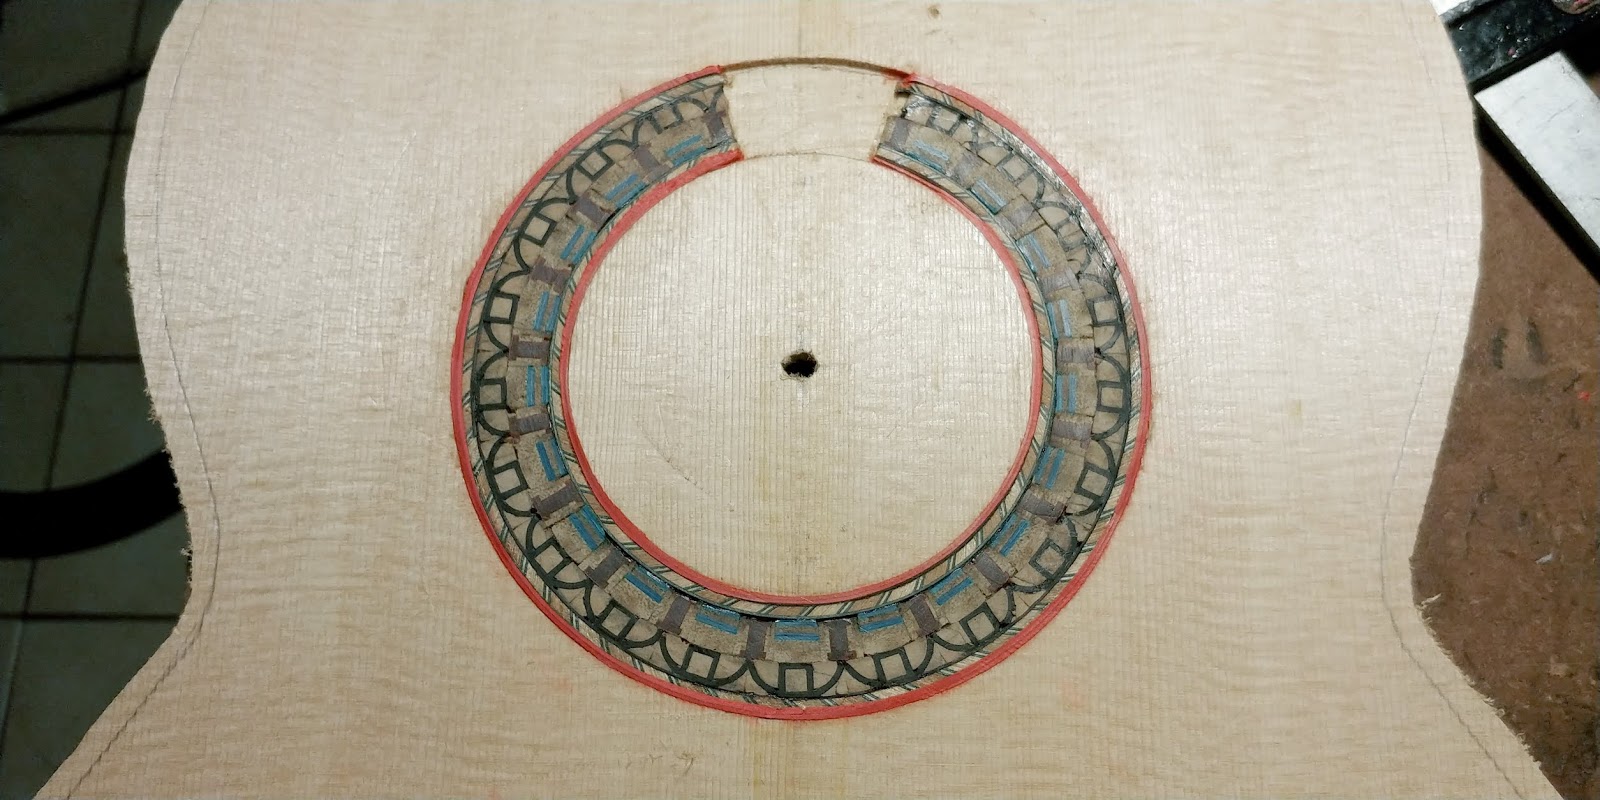
The final rosette looks good and it is the most complex rosette to date.

Inlay the red purfling

Tape it down

Scrape it to flush

Rosette done

Close up view of rosette
20190830
After that I added a patch to fill up the hollow which will be covered by the fingerboard.
Then the patch is leveled to flush.

Glue the patch

Patch leveled

Sound hole cut

Rosette done.