20140909
I started on the neck for the #9.
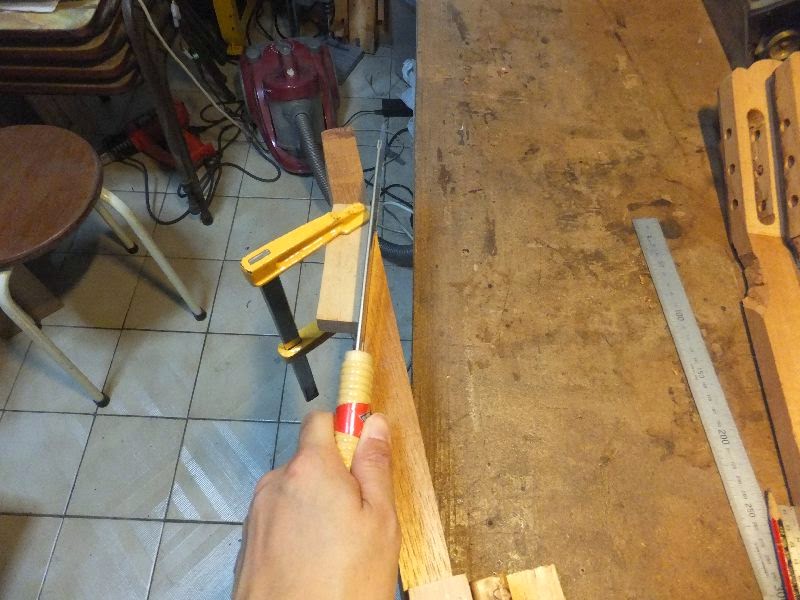
I saw out the scarf joint, the saw drifted but I was able to clean up easily with plane.
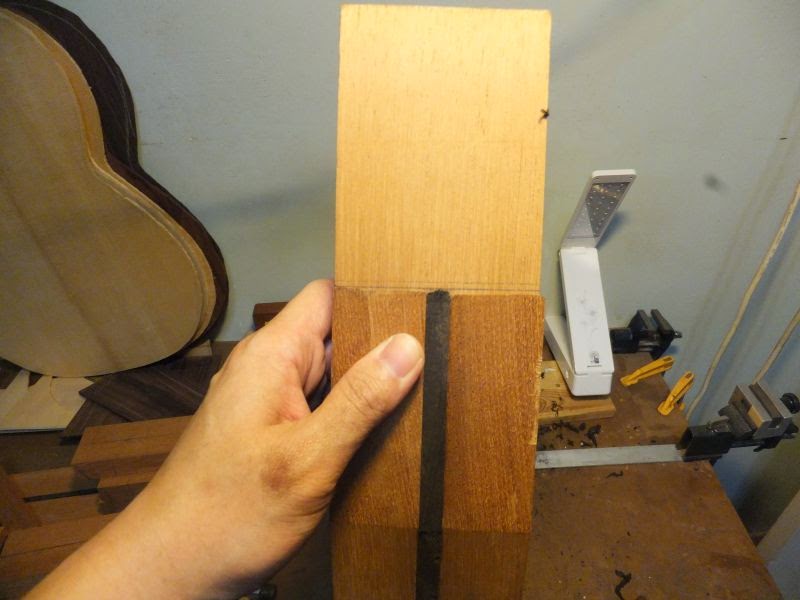
I saw a piece of ebony for the center spline.
But more work has to be done to thickness it evenly.

Saw the scarf joint

The saw drifted so the joint cut was skewed

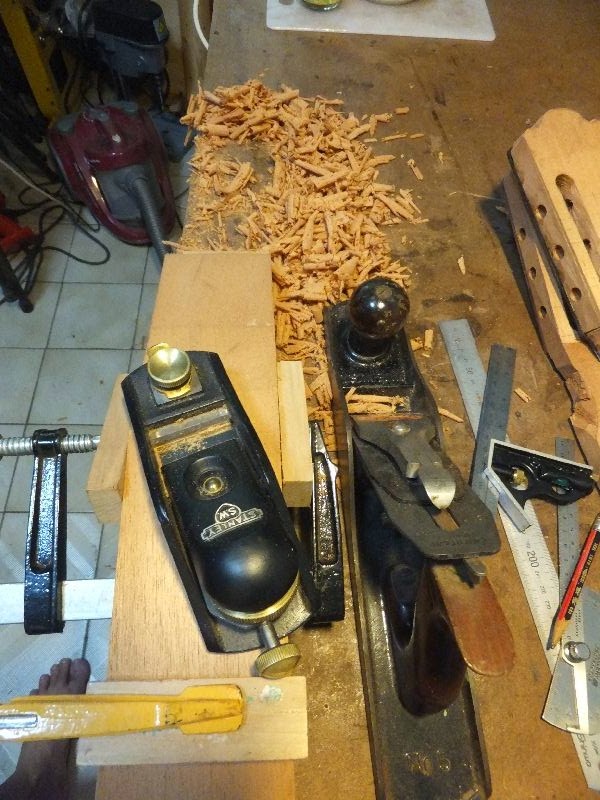
This skew was easily cleaned up with planing

Cleaning the re-saw marks on the center spline of the neck

Sawing the center spline of the neck
20141013
It's been a while since I worked on this guitar.
I plane the center spline until the spline is straight.
The spline will provide the strength for the neck.

Straighten the center ebony spline of the neck.
20141109
After taking a short break, I resume the making of the neck.
The main neck shaft was ripped into 2 and the spline check for gaps.
After that I spend some time adjusting the thickness of the spline so that there are no gaps.
After all the neck is an important structural part so more care is needed here.

Ripping the neck into 2 halves

Level plane the 2 halves

Adjusting the thickness of the spline.

Checking the fit

Checking the fit
20141125
It's been a while since I last worked on any guitar.
I have been busy as my kid was sick.
Anyway the weather recently has become rainy and the RH has rosen quite a fair bit over the past few weeks.
This makes gluing not so ideal unless I overdrive my dehumidifier.
Anyway I did a couple of things, straighten the ebony spine and fitting it to the neck.
I want to make sure there is no gaps as this is a very important structural aspect.
Now it's ready for gluing.
I also glue up the head plate.
This is non-structural so the RH is not so critical.

Head plate jointed and glued up.

Neck and ebony spline all fitted nicely ready for gluing
20141127
I glued the ebony spline to the 2 neck shaft.
I use lots of clamp to make sure the alignment is perfect and square.
After the glue dry sufficiently I removed the clamps.
Hide glue is actually self clamping as it will continue to pull the joints together as it dries(if you do not know that).
After that I cut the head plate to size.
Next will be the scarf joint part.

Preparing for the gluing. The support piece below is on stilts to allow for clamps.

Applying hide glue

Clamped!

Cut the head plate to size

The main neck shaft. Have to saw and plane down the protruding ebony spline

The scarf joint part.

Status so far. (Ti Do Re #7 #8 #9)
20141201
I continue on the neck sawing away the excess ebony strip and planing them level.

Sawing away the excess ebony spline at the butt end

Sawing away the excess ebony spline at the scarf end

Done sawing. Now I will need to level them

Planing the centre spline level

Planing the scarf joint area level. The HA plane ensures that there is no tearout
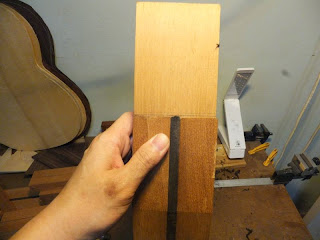
Checking the scarf joint fit.

Planing the head end to appropriate thickness.
This will ensure the length of the neck shaft will not shorten.
Normally if you joint the scarft with the head thick yo will need to thickness from the back which is hard to plane
If you thickness from front the neck length will be shortened.

The neck for all 3 guitars.
20141211
I glued up the scarf joint today.
Nothing special except that I use the main workbench for support since I know I won't be doing other things except gluing.
This makes gluing easier.

Apply the glue

Initial clamping

Final clamping
20141212
I glued on the head plate on the neck.
Before that scrape and thickness the headplate abit.
After the glued dried for sometime I trim the overhang.

Thickness and scrape the headplate.

Apply glue

Glue and clamped.

Trim the over hang and marked the outline using the template

Head shape marked.
20141218
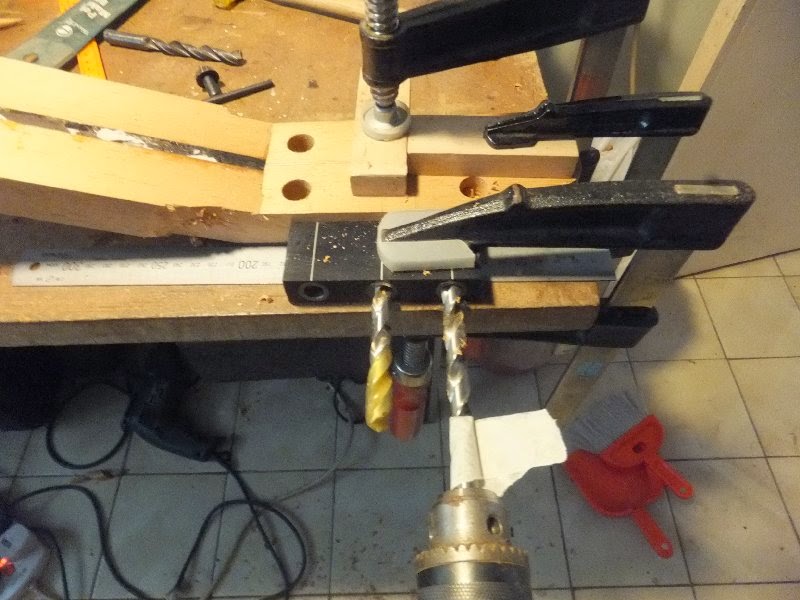
I drilled the tuner slot holes in the head.
After that I will need to drill the 6 tuner holes.
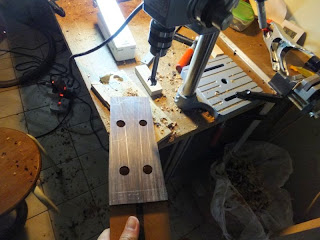
Drilling the tuner slot holes.

After drilling the tuner slot holes.
20141229
A belated Merry Christmas to all and an early Happy New Year
Hope that everyone has their resolutions fulfilled this year, and continue to work hard for the next year.
Next I began to shape the head, first of all is to plane the slope in the head.
After that I saw and chisel the head shape, Torres tomb shape head stock.

Chisel the side edge to create space for planing. Before chiselling I saw several cuts to remove bulk of the waste.

Planing the head's side slope.

One side done

Chiseling the other side.

Planing the other side.

Sawing away the waste in the head.

Sawing away the waste in the head.

Sawing away the waste in the head.

After that I carve the head using chisel. The LED light is to let me see the line better.
20141231
This is the last day of the year so I have better make good use of this session.
I drilled the tuner holes for the neck and cut the head slot.
After that I rough smooth the top.

Drilling the tuner holes

Drill the other side

Drilling the waste in the slot

Most of the waste removed

Chisel the walls of the slot.

With the tuner on. The walls of the slot needs to be sand smooth still.
20140102
What a year to start the session with...
I accidentally deleted the photos which I took. Argh....
Anyway I cut the heel block pieces, cut the excess portion of the head plate.
This allows me to mark the start of the neck and hence the 12th fret side joins top marking.
The jig which allows me to cut the head plate perpendicular to the fingerboard is missing but it's pretty easy to make one.
Anyway all the stacked heel blocks are ready for gluing.
No pics today sorry...
(Still fuming about the loss of photos.)
Anyway I will try to recapture the process if possible.
Till next time...
Here are some of the retake pics.

Sawing away the excess headplate. This is important as determines where the 12-fret mark is which is also the part where the side slots are cut.

Clean away the joint.
20150108
I saw away the wedges material for the last stack piece which is also the heel part of the block.
After that I use pencil to mark the alignment (12 fret mark and center mark)
Then I glued up the stack heels using the markings.
The part where the heel stock are saw I lost the pics so weren't able to recover them.
The gluing procedure is similar to the rest.
Apply glue and rub until it grabs.
After that then I apply the clamps.

Prepare to glue

Apply hide glue

Glue 1st piece and rub until it grabs. Then apply the hide to the 2nd piece.

After alignment I apply the clamps.

#9 material (top neck back)
20150116
I began to work on the heel.
First the side slots are cut and chisel.
This time round I make sure the direction of the wedge is correct :)
After that the channels are chiseled and the back of the heel is carved
Because I didn't glue the neck to the heel I am able to use plane to plane the back of the heel.
The heel and neck are held in position by two 3mm diameter wooden pin.
So the position of the heel and neck are always correct.
Now only the front of the heel needs to be roughly carved and cut.

Align the guide block and clamp it down.

Both slots sawn. The direction of the wedge is coming down from the foot side.

Sawing the other side. The left hand is used to ensure the saw follow the guide block closely

Chiseling the channel

Channel chiseled.

Saw the back of the heel.

Plane it to shape

All the shaving...

2 necks almost done.