The whole of my country Singapore is enshrouded in a thick veil of haze...
The haze is caused by the neighbouring Indonesia who use primitive slash and burnt method to clear the farmland.
The PSI reading hit a all time high in history yesterday at 371 and I have heard this is not the max but an average value for 3 hours.
The actual max value is really much higher.
Because of this stupid I think I won't be able to do much in this period.
Rain rain please come...
 Custom Search
2013-06-21
2013-06-06
Binding and Purfling
20130523
I also started to do the binding on the main body.
I check the curvature it seemed that it's not really off center too much.
So I forgo making the binding jig for the router and use the normal base which reference the top instead of the sides
I can correct the skew with my chisel later.
Anyway for this guitar the binding scheme is just binding w/o the side purfling so it will be easy.
I setup the router and test cutting until it fits the binding.
Then I proceed to cut the channel.
Always start from the widest portion in the upper bout and go to the narrow area and repeat for the lower bout too.
This will ensure minimal chip-out.
Next will be to bend the bindings and glue them.
Without side purfling this will be much easier to get a clean binding.

Checking the router setting and adjust accordingly

Preparation for the routing

Routing done. Always go from widest portion to the narrowest.
20120529
I cut the purfling rebate by hand and also those part which is not reached by the router.
It's not that difficult.
Also for the purfling rebate, I use my LN router plane and this makes the depth more consistent.
After that I glued in the purfling and all seemed well.
Next I need to cut the end graft before doing the binding.

Purfling ledge cut.

Cut using the LN router plane. This ensures the constant depth for the purfling which is set according to the purfling used.

Scoring the purfling edge before cutting

Gluing the purfling

All done gluing
20130530
The purfling came out quite nice.
Next I worked on the bindings; bend and trimmed the bindings.
I also route the end graft channel.

The purfling done nicely.

Set up for routing the end graft
End graft channel routed.

Prepare to bend the bindings

Bindings bend. Some springback is good to ensure a better fit.

Sneak preview of the front

Fitting the back bindings.
Both sides fitted. Have to trim the ends to ensure better fit.

Trimming the ends with a chisel
20130604
I enlarged the end graft and inlay a strip from my #4 Maple back cut-off.
This time round I use hand saw chisel and router plane to do the job instead.

Saw the 2 kerfs

Use chisel to remove the bulk of the waste and clean with the router plane.

Saw the Maple cutoff (from #4 back) and shoot with my LA block plane to the correct width

Glue and clamp
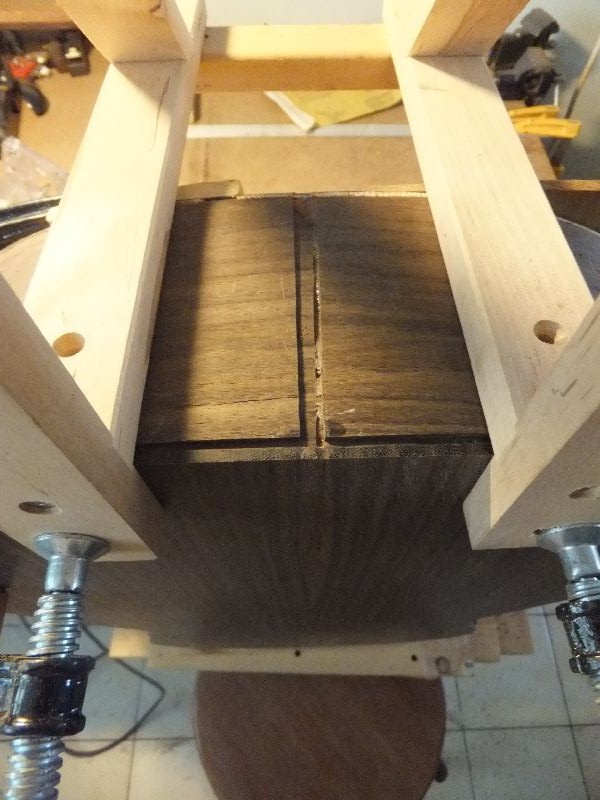
20130606
I use a block plane and level the end graft.
The end graft job wasn't perfect but good enough for now.
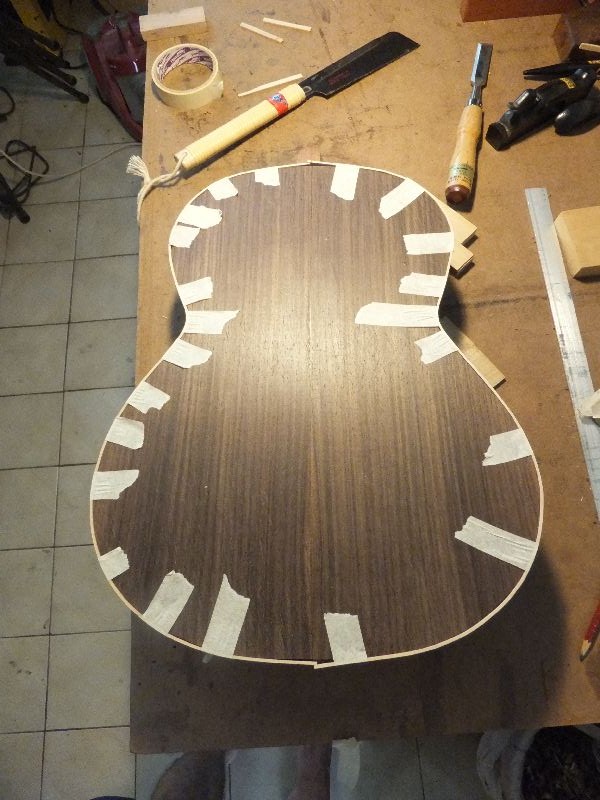
Then I start doing the front binding.
First I use tape and then finally tighten using rope and inserted the wedge to increase the tension.

The end graft after gluing.

Level down using block plane.

Leveled looks good enough for me.

Start to glue the front binding.

Using tape 1st then use rope.

Tighten the rope using wood wedges.
20130611
The front binding is done but with some gaps.
Now how to fill up the gaps???
Might have to redo the binding...
Then I proceed to do back binding.
Hopefully will be good.

Front binding done.

Gaps!!!

Gluing the back binding

After taping

Tightening using rope
20130613
The back binding was quite well done :)
Now to solve the front binding gap problem.
I have a few options:
1) Redo the entire binding
2) Redo the gap sections using scarf joints in the binding
3) Fill the gap with white maple veneer
4) Fill the gap with ebony dust
Now to ponder over a few days...

Back binding

The butt joints

The butt joints

Front binding gaps

Front binding gaps

Front binding gaps
20130618
Well in the end I decided not to do anything about the bindings
I probably fill it up with maple dust.
After scraping and sanding the gap become less visible
2013-05-20
New Wood!
I got some more new back and sides.
2 more sets of CSA RW and 1 set of Panama RW and 1 set of Southeast Asia RW.
The CSA RW are really nice and smells great with beautiful spider webbing.

CSA RW

CSA RW

S.E.Asia RW

Panama RW

Malaysia Blackwood - nice spider webbing but the tap tone is abit dull. Well it's an ebony cant expect much.

Amzn RW. The tap tone is incredible! Sustain like mad!

New bridge blank from Allied Luthierie

Honduran RW, the tap tone is very high pitch

CSA RW the smell is great, but tap tone is only mediocre.

MadRW, has the best tap tone amongst them.

Close up of the ink lines.

CSA RW. This set is my current favourite now! Look at the spiderwebbing!
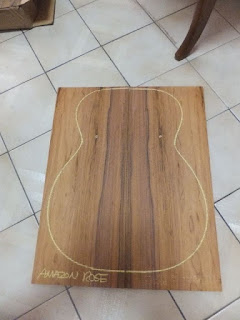
Amzn RW

MadRW
Subscribe to:
Comments (Atom)