Well next step is to finish up the neck, but my forstner bit hasn't arrive so I can drill out the slot hole.
I bought a cheap set from Ebay but the bit was blunt and doesn't cut at all.
That's really you get what you pay for.
Anyway at least what I can do is to drill the tuner holes since I have the jigs ready.
I first plane the slope of the head which I have marked out earlier.
I use my rabbet plane and chisel to get to the final mark and check for squareness of the edges.
After that I mark the center of the head stock and the center line for the tuner jig.
I insert a 2mm plywood to offset from the face of the headstock and align the center line of the tuner hole jig to the marked center line.
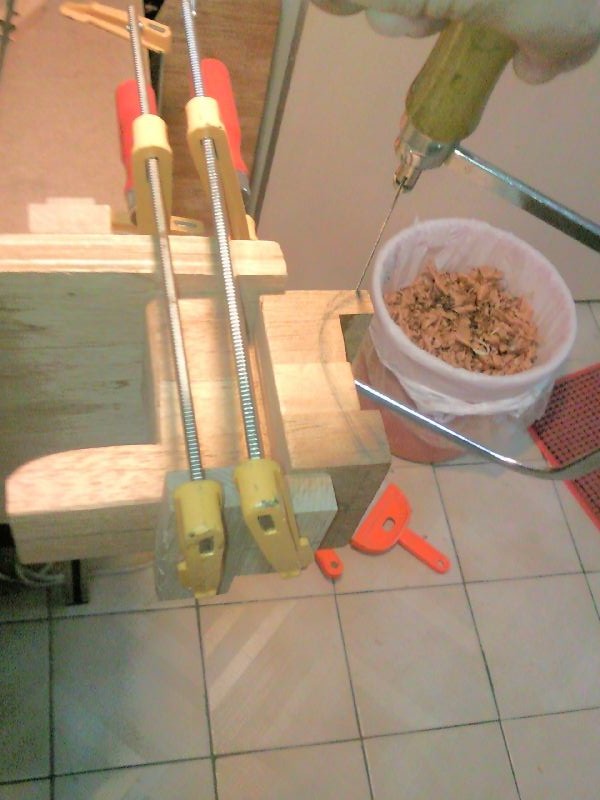
Clamped everything together and use a tape to mark the depth of the drill
I started drilling but encounter a problem, one of the tuner jig hole doesn't go thru...
My brad point drill bit which I got from LV broke at one of the side tips...
Argh... I had thought a reputable LMI would do a quality check before the ship.
But anyway I had to improvise and drill 2 holes and then flip over to drill the 3rd hole.
I finished up the tuner hole drill and now to wait for 5/8" bit to arrived.
Saw a slot to enable planing of the slope.
Chisel the waste area away. Now to start planing
Planing using rabbet plane
Both sides done. Center line marked
Tuner depth
Mark the drill bit depth
Drilling the hole
Tuner hole drilled
Both sides checked for ease of turning of the tuner.
What's next but to drill the slots and my Freud forstner bit arrived just in time and it's sharp.
Well I marked out the slots and drill the end holes.
After that I thought of drill more holes in between but in the end I decide to use coping saw to saw the in between waste.
Finally I parred the edges to the line and sand it smooth.
My Freud 5/8" drill bit
Center punching the holes to be drilled
Start drilling
Drilling in progress
Drilled.
Saw the center waste using coping saw
Done sawing
Parring the waste to the line
Sand it smooth
Done
With the tuner machine
Next I proceed to carve the string clearance slope at the slot near the nut.
This is to allow the string to go down to the tuner barrel, without touching the guitar head or at least allow it to go smoothly and not across a corner edge.
I first saw the slot and then chisel the waste.
It's just that straight forward.
Sawing the slot
Another view
All slots sawn
Start to chisel the slope
Done.
Slots done with the tuner in place.
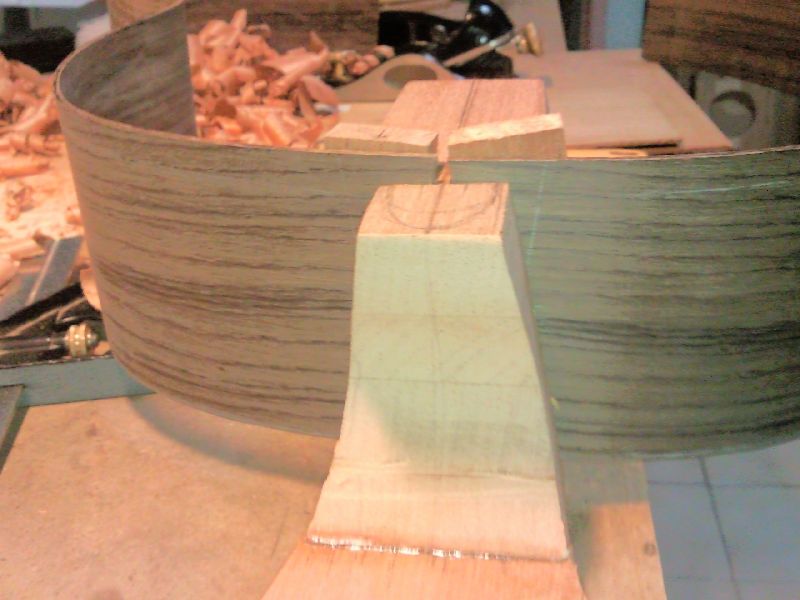
Next I began to rough shape the heel area.
First I tried to saw with a coping saw... it's damn difficult due to the width of the neck.
Well I cut some some vertical slots in the heel to allow intermediate breaks for the coping sawing.
For the straight part I use the ryoba to do the job.
After that I use my rotary sander to shape the heel.
Now it's ready to be attached to the neck.
Cutting the curve using a coping saw.
Straight part using ryoba
All cut
Shape using sander
Check the shape on the neck.
Cut the side profile using my douzuki
The other side
Both side done.
Heel block done ready to be glue.
The detail carving will be done after assembly.
I did further shaping of the neck, the curve at the joint of the head and neck.
I use coping saw and cut then shape by the sander.
Cutting the curve
Shape with sander
Cutting the other side. The coping saw direction need to be flipped to the other side.
Shape with sander
The end product.
The heel area also narrowed
Smoothen the shape of the slots to correct some asymmetry.
As the concluding saga of the neck making before assembly, I glue up the heel block and carve the head.
Well after assembly, I still need to carve the heel and neck body profile.
I use HHG for the heel block and align properly with the markings I made.
As the block slips I basically held in place with hand until the glue grabs before I clamp in.
For shaping the head, I use chisel and my rabbet plane.
The rabbet plane works amazing well; partly because I am still not very skillful with my chiseling.
Of course I cut using saw before chiseling the waste to the line and smooth with the rabbet.
Before gluing
After gluing applying the clamps
Making sure the center line is aligned properly
Sawing the excess head
Cut roughly to the line
Saw the side notch using a block as a guide
Side notches done
Roughly sawn to shape
Chiseling to shape
Using rabbet plane to shape it. It works very well.
Done! Looks nice
And now to assembly...
Well I supposed to leave the carving of the heel to after assembly but I just couldn't help it.
I rough carved it anwyay.
Carving the secondary face.
Widening the face
Taking shape now.
The other side done.
The actual shaping will be done after assembly.