After thicknessing what comes next?
Bending of course.
I laid out all the things that I needed and began to bend
1) The outside mould
2) The template
3) Heat gun
4) Bending pipe
5) Sides itself.
6) Container of water (I didn't buy a spray container so I just apply it by hand)
After checking the orientation of the sides, I began to heat up the heat gun and bending.
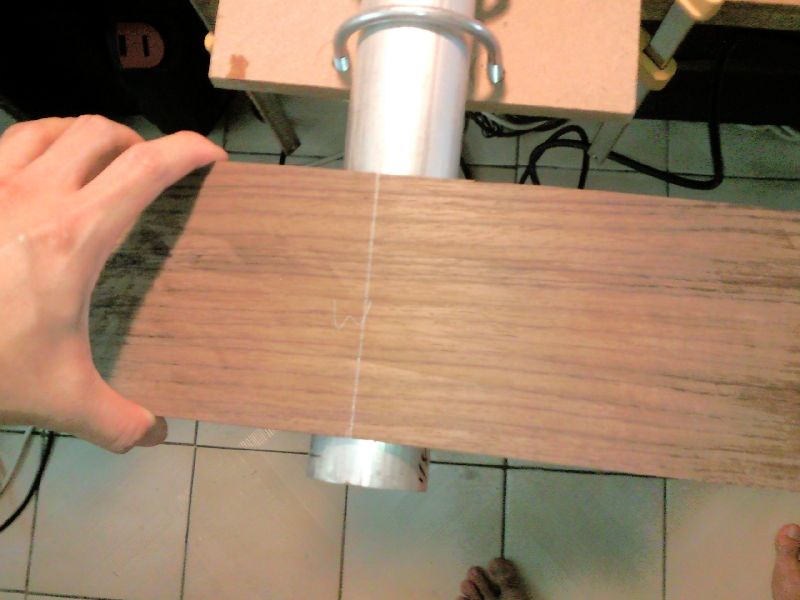
Starting at the marking at the waist I slowly bend the wait carefully not to crack the sides.
The good thing about heat gun is I am able to heat up both sides with the hot air.
But I also need to be careful not to stand in the path of the air.
The height is right at my groin are (If you know what I meant)
Bending sure takes lots of patience.
After the waist fits the outside mould shape, I began to bend the upper bout.
And after then the lower bout.
It takes me about 30 to 45 mins for one side.
There is some spring back but well I can correct them the next time
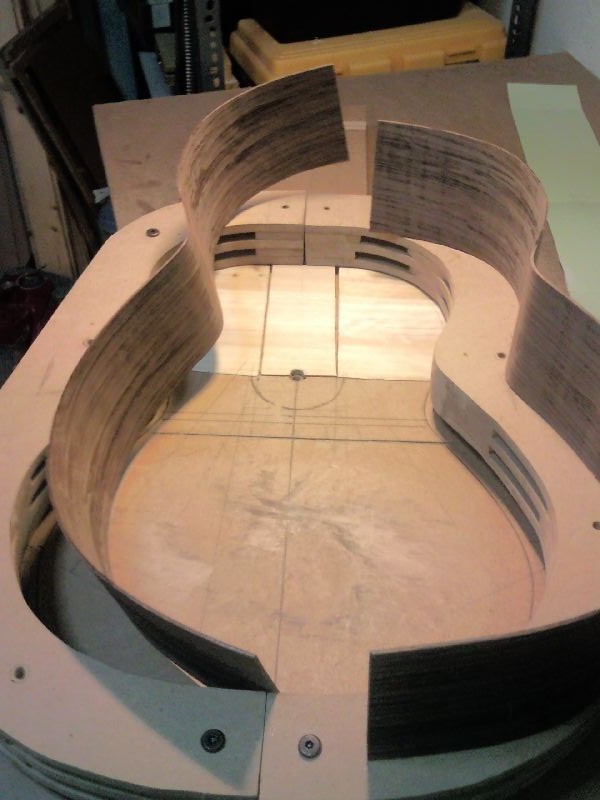
Meanwhile I just clamp them to the outside mould and let it cool down.
All things set
Heating up the waist area
Start bending (with 2 hand of course)
The bending takes shape
Checking the bend at the waist
Bending and checking the upper bout
LB almost done. It can be squeeze into the mould.
Clamping to the mould while it cools
I touched up the previous bend to make it more fitting.
This time round I did better with a wooden block to aid the bending as advised by
Alex.
After about 10 minutes it's done.
And I don't really need much clamping to the mould.
Then I started the other side starting at the waist.
The wooden block really helps: firstly to prevent my hand from being scorched;
it also prevents the cracks at the waist.
The other side has a bit of crack but none too serious.
This one is perfect.
Finally after 1/2 hour, I am done.
Much faster than yesterday.
Touch up the curves
Now I don't need to force them much into the mould
Bend the other side start with the waist. Checking the curvature at the waist
Lower bout still a lot more to go
Wet the sides with water to aid bending. Just a little will do not to soak them.
The right side almost done. Just a little spring back at the outer edge.
Clamp to the mould to cool.
Both sides done.


 Custom Search