
20150125
So I began to inlay the rosette onto the top.
First I began by drilling the 3mm hole for the center pin.
Then I trace out the circle of the rosette onto the top.
I began to cut the rosette channel by using my circle cutter v2 tool.
This cutter works great!

Marking out the center hole position

Drill the 3mm hole for the center pin.

Scribing concentric circle

Removing using router plane

Channel 1/2 done...
20150128
I continued on the rosette channel.
After that I dry fit the rosette and adjust the channel accordingly.
To glue the rosette, I flooded the channel with the white PVA glue which dries clear.
After that I place the rosette in and clamped it down.

Finished cutting the rosette channel.

Dry fit the rosette

Flood the channel with glue

Place a wax paper and...

Clamp it down.
20150130
After the glued dried I plane down the rosette.
Looks pretty good.
I did some purfling mock up to see which scheme fits better.

Planing down the rosette

After planing
With the purfling - no separation white line between rosette and purfling
With the purfling and a white separation line. Which looks better?
20150312
Finally some work done after a long break.
I began to inlay the surround purfling.
Not a hard job but I have to be carefully to do a good job
I routed the channel and slowly enlarge until the dry fitting is quite snug.
After gluing the purfling would expand and fit the gap.
So I apply the glue in the channel and glue the outer purfling first.
The thin white line I insert in after the main purfling is in.

Routing the purfling channel

Channel routed. Will need to use chisel to clean up.

Gluing the purfling and hold with tape

Done on the outer edge.
20150320
I trim down the purfling and began to inlay the 2nd inner purfling.
The steps are similar.

Trim the purfling

Cut the 2nd inner channel

Glue and tape it down.
20150325
After the glue dried I stripped away the tape and check out the inlay.
As suspected, it wasn't as good as the outer rim.
There were gaps which is quite noticeable.
After some thinking, I decided to redo the inner ring.
So I use my 2mm chisel (which is very useful for rosette work) to chisel away the inner purfling.
After cleaning up the channel, I am thinking what to do to make the purfling stay tight.
That was when I recall about the pin method...
So I will do layer by layer instead.
I apply glue to the channel and glue the white inner purfling first which will be hold down tight by the pin.
Now to wait for it to dry.

Gaps!

Chisel away the purfling and redo it.

Channel cleaned.

Glue the inner purfling held by the pin
After the glue dried. Looks much better!

Removed the pins. Now no gaps.
20150402
Before I inlay the main purfling I clean up the channel and did a dry run.
I think I need to inlay a few more black purfling to fill up the gap.
So I use the pin method and inlay a layer of black purlfing.

Clean up the channel using chisel

Check the length of black purfling needed

Apply glue

Fix with pin.
20150403
First I clean up the channel to prepare to for the inlay.
After that I did a dry run to ascertain the fit.
There is some gap so I would have to use the pin.
Finally the main purfling is inlayed.
There is a bit of gap so I use the pin to make the purfling close to the inner rosette.
After the purfling is inlayed I use the 2mm chisel to press it down.

Shave down the previous purfling.

Clean the channel

Gluing the purfling

All done.
20140404
I shave down the purfling and check the fit.
Looks pretty good except for one portion.
From far it cant be seen actually.

Plane down the protruding purfling

Closer look

From far looks quite nice
20150423
I replace a small section of the purfling
So I just use chisel and take my time to chisel away that section.
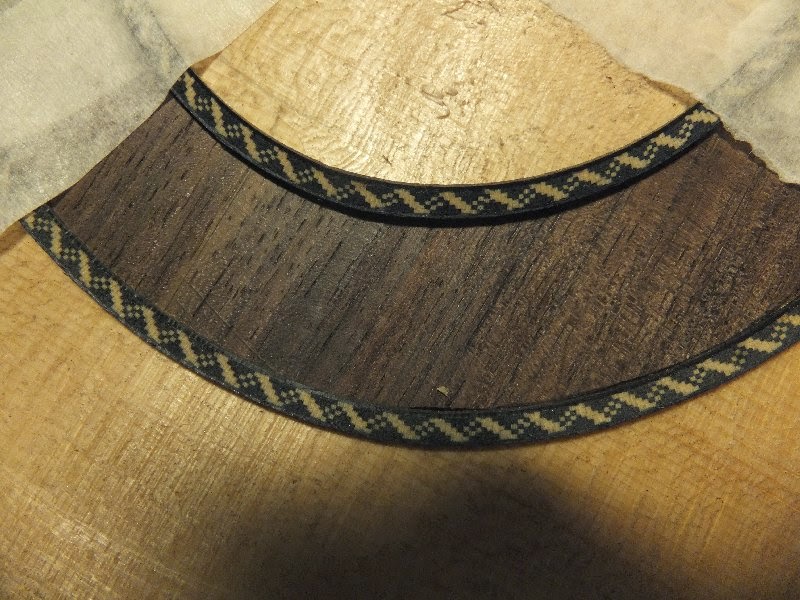
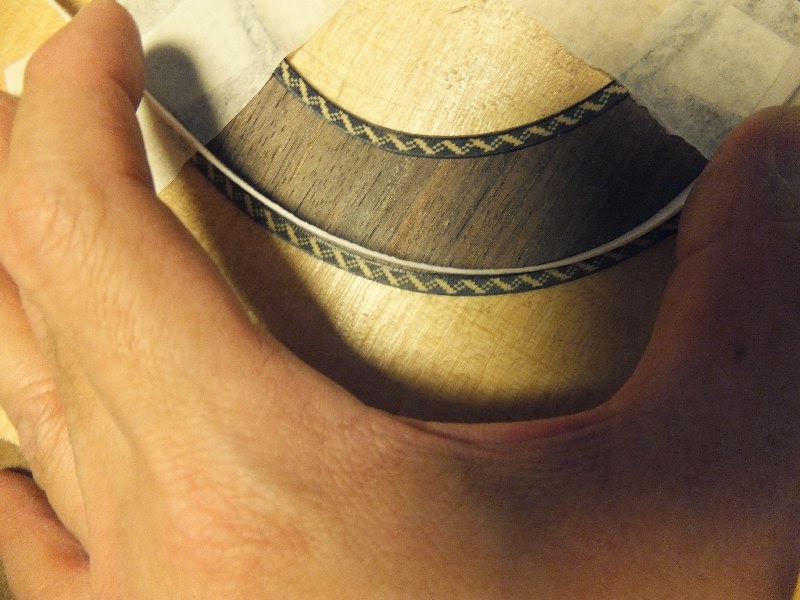
After that I use my spare piece of purfling and cut to fit that section carefully matching pattern.
The result seems quite good during the dry fitting.

Chisel away the previous section using chisel

Dry fitting to check the pattern continuation.

Apply glue

Glue and use pin to align

Rosette all done.
No comments:
Post a Comment