I managed to completed gluing all the top's struts including the harmonic bars.
Carving the enclosing struts
First of all I carved the enclosing struts to shape.
I think my chisel skill is getting better and better.
I noticed the chisel getting a bit blunt from all the carving.
I'd better be starting to look for a honing guide soon.
Carving the enclosing struts.

Completed carving

Top down view

The lower traverse bar
For the traverse bars or harmonic bars, I start to mark out the windows that I am supposed to cut.
For a moment I was think whether to do it like Torres which was basically an arched window or some other open brace design.
In the end I opt for a simple rounded corner rectangle.
It was pretty easy process to carve out the window.
Next I used file to smooth the jagged edges.
Marking out the window

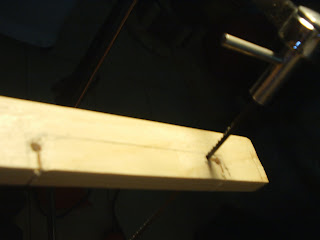
Drilling the hole

Sawing the window

Both window sawn

Test fitting the lower traverse bar

The upper traverse bar
For the upper traverse bar, I was think whether to make it a open or close.
Torres' upper traverse bar was close and thus his upper struts could made an angle with the outer fan struts.
In the end I decided to make the upper traverse bar open.
In order to support the upper bout, the upper struts was made straight instead of an angle.
For the making of the upper struts (no pictures), I plane it to shape for the cross-section and taper the ends before gluing the struts.
It's definitely much easier to do it with plane then chisel.
Both upper and lower traverse bar sawn

Close up view. (Noticed the straight upper struts)

Oblique view

From the other side. The upper window has been smoothened.

Side view

Yet another view

Test fitting with the sides. The traverse bar has been trim at the ends

The gluing process
It's time to glue the struts.
The upper struts are glued using all the F-clamps.
The traverse bars are clamp using the F-clamps at the ends and in the center is the good old center screw.
The screw was abit short and I had to cut 2 notch in the center MDF strip to lower down the thickness.
The notch served to stablise the traverse bar too.
Gluing the upper struts

Gluing assembly

Low angle view

High angle view

I thought I would post some more photos of the completed braced top.
I try to fit the side to the top, but discover have to trim the harmonic braces more in order to accomodate the sides.
Using a mini hacksaw and then chisel I manage to trim the braces.
Now the side fit in the top better, though the upper bout curve still need a bit of adjustment by heat pipe.

Here's another view

A closer view of the braced top


No comments:
Post a Comment