20140422
Next I began to cut the binding and purfling channel.
This time round I decided to go fully manual cutting by scribing and chiseling.
I started with the back and all went pretty well.
Well it's actually faster than I thought.
After 1 hour of work I am 1/2 done.
The binding channel was cut to the depth of the back.
The scribing was done with reference to the sides.
I just need to increase further the depth the channel.
This time round the reference will be from the top and set to the height of the purfling.
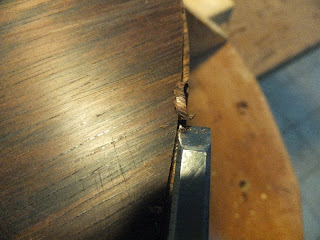
Chiseling the waste.

Scribing with reference to the sides

Scribing with reference to the back

Binding channel done

Binding channel done

Checking for the width of the purfling channel
20140504
The purfling channel is cut.
Things are slowing down as these are the intricate parts of the build.
It doesn't really help to speed things up.
This time round I am going full manual as they allow me to control the cutting precisely.

Purlfing channel.

Test fit with the purfling purchased from Karin Rost
20140602
I decided to cut the channel for the back strip.
From experience it's pretty hard for a hand tool (limited by my inexperience), so I decided to use the router instead.
Luckily the width of the bit fits nicely the width of the backstrip and purfling.
So after much measurement and setting, I routed the channel.
The depth is set using the existing purfling channel edges.
The router is guided by the flexible Aluminium bar which is held in place by the cam clamps.
I also routed the end graft but it was off center with respect to the backstripg channel
Looks like I need to add somemore things to the end graft to expand it further.

Checking the guide alignment

Routing the back strip channel

The channel

Checking the fit of the backstrip and 2 purflings in the channel

Checking the mitre fit in the channel

Routing the end graft. Anyway there was a misalignment so I need to get creative here...
20140606
I started on the top sometime earlier and continued on the top.
Also tried to fix the skew end graft slot by enlarging the channel.
But exactly how to make it into a "feature" I have not thought thru' as yet.
Anyway the front channel looks pretty good.
Hopefully no more mistakes

Chiseling the binding channel.

Chiseling the channel near the waist.
20140612
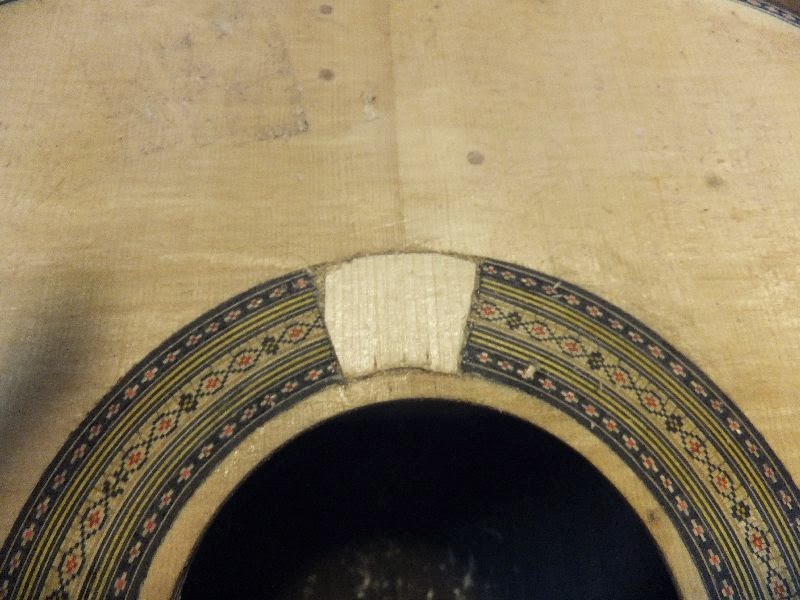
I decide to redo the end graft channel.
If it's just wood endgraft it would be easy to cover up but this is a marquetry inlay so it's kind of hard to cover up.
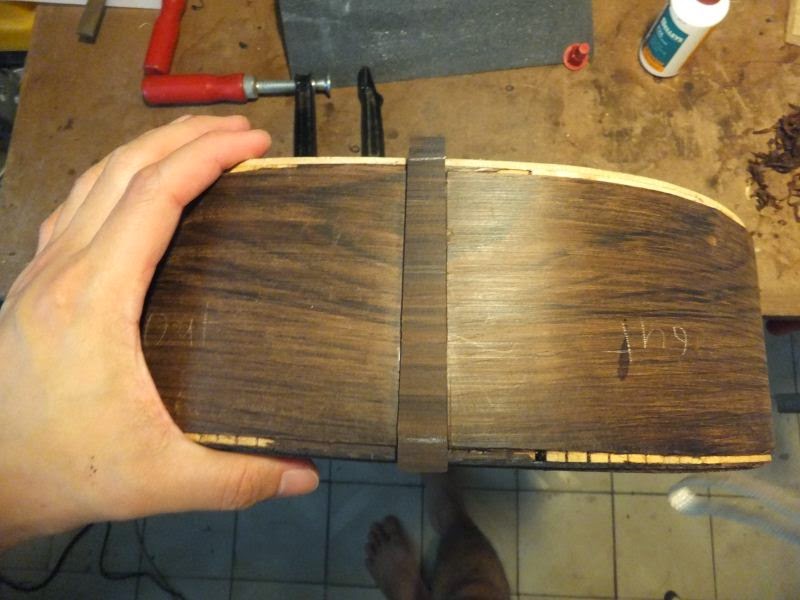
So I patch back the current channel using the side cutoff.
The pattern matches pretty well.
After which I will re-route the channel again.
Hopefully this time round I will get it perfect.

Shaping the patch

Checking the fit

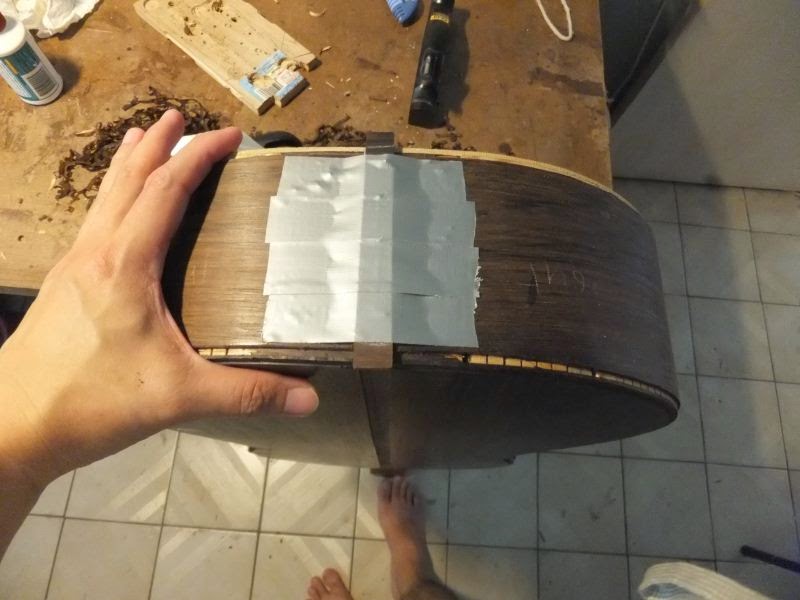
Apply glue to channel

Glue the patch.
20140616
I level the patch after the glue dried.
Now it's ready for the 2nd routing.
This time round I will make sure the alignment is correct

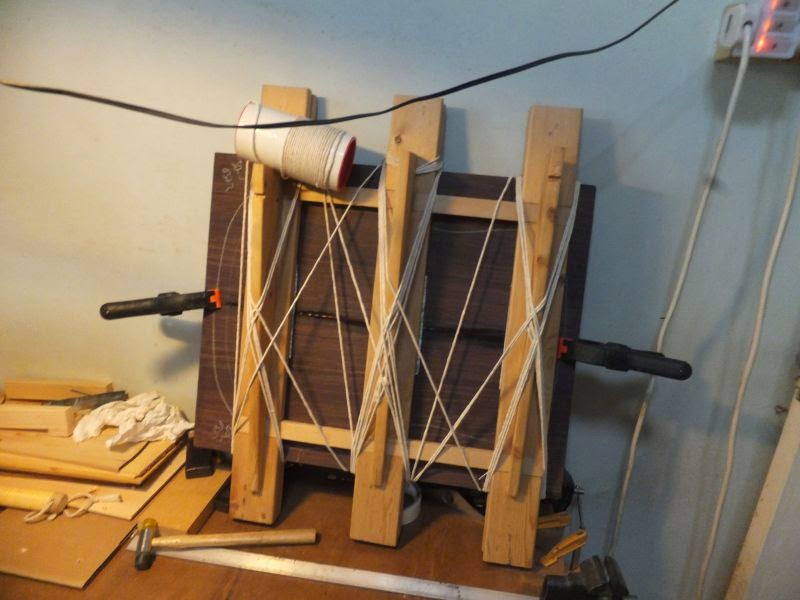
Clamp guitar in position

Level with block plane

Level the end in the binding channel

Done.
20140618
I recut the end graft but this time round I make sure the center line is in line before I cut.
The end result is good.

Setting up the guide fence

Checking the alignment. I paste the tape to clearly mark the center line of top and back.

Routing the channel

Routed channel

Perfect fit! Well almost.
20140628
I began to cut the purfling channel on the top.
Same stuff here scribe and chisel.
But it seems that it's time to sharpen my chisels a little.
They feel a little blunt.
Once this is done I should began to glue the purfling in.

Scribing the channel

Chisel away the waste

Checking the fit. Looks like i need to widen a little to cater for a black purfling veneer before the marquetry purfling for better contrast.
20140711
It's been a while since I last updated the blog.
Recently have been really busy so not much time to continue on the build.
I continue to work on the bindings and purfling channel
This is a lot of work due to the elaborate purfling and binding...
Right now I am at the front purfling stage.

End butt part

Tried leveling with the rebate plane. Works pretty well

Chisel at the waist.