Custom Search

2018-12-19

Cutting the top to plantilla


20181219
Next I draw the plantilla outline on the top.
After that I saw out the top leaving about 10 mm of border space at the edge.
When I am doing tuning, I will trim the top nearer to the actual plantilla.
The excess edges will affect the tuning results thus it needs to be as close to the final shape as possible.


Marking the plantilla


Sawing to the plantilla shape leaving about 10mm of border


All 3 tops cut to shape.

2018-09-20

Finishing the guitar


20180710
After 2 years of playing the guitar, I finally get around to start finishing the guitar.
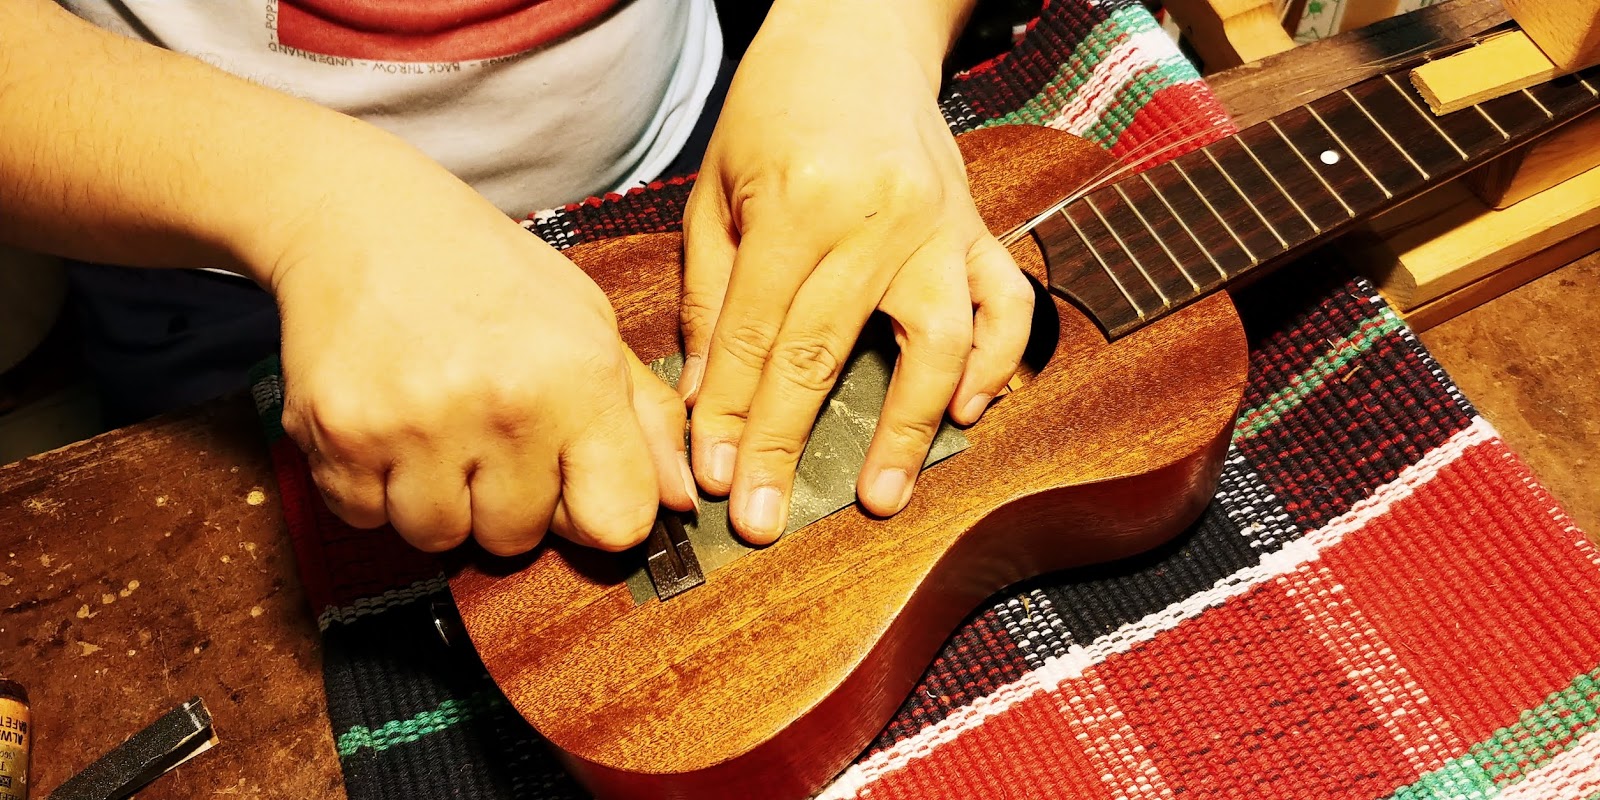
The string broke so I removed the string and started the finishing process properly.

The sound has developed to be very good.
In terms of sonoriy I would rate it the best amongst my guitar. (2nd is followed by Guitar #5)
Other guitars were generally great at the trebles but OK at the bass sonority.
This guitar has both clarity, separation and great bass sonority.
I attribute this to the bracing and the low air resonance.

First I sanded the top even with various grits: 150, 240, 320, 400, 800, 1500.
Then I pore filled the rosette ring with CA glue.
I tape up those areas which I don't want to coat with shellac.
Finally I coated the surface with thin coats of shellac without any oils.
I noticed some patches of unevenness on the rosette area which means I did not sand it even after the pore filling.
Likely I will need to remove the base coat of shellac in particularly the rosette area.
But the grain really pops out after the shellac is applied


After sanding the top with various grits


Pore filled the rosette with CA glue


Applied a the base coat of shellac.


20180713
More FP in progress the shellac building up slowly.


Slowly building up the shellac. Look at the silking on the top (medullary rays)


Another view


Look at the rosette, the grain starting to pop out


More FP in progress, beginning to get some shine


Starting to get the shine


20180724
Some more polishing to go.
The shellac build is good but after spiriting off I lost some of the shine.
Hmm I am supposed to burnish the surface to compact the shellac but with the bridge in place it's kind of hard to do that.
The excess oil were removed with paper towel.
Those hard to reach area (e.g. bridge area, area besides the fingerboard) are easier to reach if I put a coin into the mueca during the polishing.


Shine is there but I will need to level sand the surface


20180731
I level sand the surface using oil and 800 grit.
Then I followed up with more polishing.
The effect looks much better


After level sanding with 800 grit and oil


The surface is smoother after the level sanding.


More polishing


20180920
I began to finish the back.
I stopped a while as I was thinking what to use to finish the back.
In the end I decided to use shellac.
Pore filling with dust wasn't working out too well.
In the end I use pumice.
The trick to use pumice is not to apply too much of it.
If too much is used it will get tacky and discoloured.
When that happens use more alcohol to level it out.

After a few bodying session, the coat builds up fine.
I polished a bit and things looking good.
I level sand a bit in between.
Some pores are still quite visible so I just a bit more pumice to fill them.
That's the good thing about using FP and pumice to pore fill; you can always go back and do it any time.


After a few bodying sessions.


Pumice


20180927
After a few sessions of polishing this is how it looks.
I level sanded a few times.
There are some along grain graduations though so when I do spirit off I did it in a traverse direction.
It did level it a bit so i think i will continue a few sessions to level them.


After a few sessions of polishing


Can see the reflections

2018-08-21

Jointing the top and back


20180814
I began the build by shooting the various boards: tops and backs.
After making sure that no light passed thru' the joint seam, I proceed to joint the 2 halves of the boards.
I have only 2 sets of jig to clamp the 2 halves so I joint the tops first.


Shooting the back of #10


Back of #10


Shooting the back of #11


Back of #11


Checking the top seam


Jointing the top using my jig. Tightening the rope using a wedge.


20180821
The top is removed from the jointing jig.
Next the back is glued with the same method as the top.
The glue remnants is also removed by scraping from the jointed area on the top.


After removing from the jig


Jointing the back #10, tying the rope.


Inserting the wedge


Jointing the back #11


Scraping the top joint


20180828
After the glued dried and more than 48 hours, the 2 backs are released from their jointing jigs.
Looks great!


#10 back jointed


#11 back jointed

2018-08-14

Starting on 3 new guitars: #10, #11, #12


20180814
I will be beginning a few new builds: 2 new 6-string guitar and 1 new 7-string guitar
The guitars will all be using RW back and sides with Lutz spruce top.
The RW back taps very high pitch with lots of sustain.
Think these will be interesting build, be sure to stay tuned.

2018-08-13

Repair a Ukulele


20180813
A ukulele came in for repair as the bridge came off (another case of bridge repair).
The owner has used a shoe glue to glue it back but it was not a suitable glue.
So I had remove the glue remnants.
Upon removing it I noticed the top was scribed with a lot of XXXXX and this is the cause of failure...
Normally top should not be scribed with xxxx.
Glue work best with fitting surfaces and if the top is damaged with xxxx scribes, the surface will not be fitting and the chances of bridge coming off is bigger.
After cleaning the surfaces and sanding both side to have better fit, I applied the glue and glued back the bridge to the top.


Scraping the glue remnants on the bridge


Sanding the bottom of the bridge


Removing the glue remnants on the top.


Sanding the top.


Fitting both surfaces


Closeup of the scribing marks on the top (likely cause of the failure)


Gluing the bridge to the top.

Repair a guitar


20180801
I have a guitar coming in for a bridge repair.
Nothing too out of the ordinary.
But I did noticed that the top has some wavy curve across, but I did not see any damages to the butt area.
So I think the cause of the bridge coming loose is probably due to changes in RH.
Anyway for this bridge repair I use a caul underneath the top and clamp with 3 bridge clamps.
Before applying the glue, I clean the surface with sandpaper.
After that I applied the glue and clamp.


The gap developing at the back of the bridge. The top has a noticeable wavy curve.


Cleaning the surface with sand paper


Apply glue and clamped


Another view


Caul and clamp used


The bridge glued nicely


20180813
The guitar has been strung up for about a week and the bridge still stays strong.
I prepare a new nut for the guitar with a closer string spacing.
The maker has put a pin in the middle of the nut slot which makes the making of the nut a bit more challenging.
So I just make the nut to fit the slot and file the string spacing accordingly.


New nut with closer string spacing.


Guitar all strung up and ready to play.

2018-06-22

Installing the binding and purfling


20180622
Next I cut the binding channel on the back of the guitar.
Normally I will cut the top binding channels first for but this time round I cut the back bindings
Also I bent the bindings.
I thought ebony was hard to bend but they came out pretty good.
Think overall my method had improved as I use another iron to heat the other side of the wood.
That really helps in the bending.

I describe a bit about my new method of bending.
Actually there isn't much difference from my previous method.
Previously I will use 2 blocks to support the back of the curve portion during the bend.
However the heat is only coming from the hot pipe side.
So this might result in some breakage for some woods that don't want to be bent.
With this method, the concept is very similar.
The bend at the curve part is now supported by the iron; but I can only support one side instead of two.
I need the other hand to hold the bindings.
The good part is the iron will also apply the heat to the back of the wood which greatly reduce the breakage.
Also by pulling the wood thru the compressing heat mold formed by the pipe and the iron, the wood acquires a gradual bend shape.
This will also reduce the amount of sanding required for the woods after bending.

After cutting the channel, I fit the binding and they fit perfectly.
I did some adjustment to the trimmer to cater for the arch back surface.
Thus the channel came out referenced the sides instead of the top.


Bending the bindings using a hot pipe and an iron. Works great!


After cutting the binding channel. Chips everywhere.


Test fitting the binding.